Having a vast source of meticulously designed sounds in your library is a wonderful thing. But let’s face it: sifting through hundreds of presets can be overwhelming.
Here at Output, we’re all about fast-tracking your creative process. We don’t want you to spend hours looking for the right sounds, which is why we categorize them for you.
SIGNAL presets are no different.
If you already own SIGNAL, you know that it’s all about generating sounds that move. It provides any rhythm injector you can think of, from LFO to step sequencer and arpeggiator. Plus, it offers an inimitable library of instruments such as guitars, strings, analog synths, and even some percussion! For producers who are looking for a software instrument that covers all the bases, SIGNAL is a prime choice.
Equipped with every tool imaginable to cater to your sound designing needs, this instrument can get as complex as you want it to. But if you’re new to it, don’t fret! We’re here to show you how you can get started.
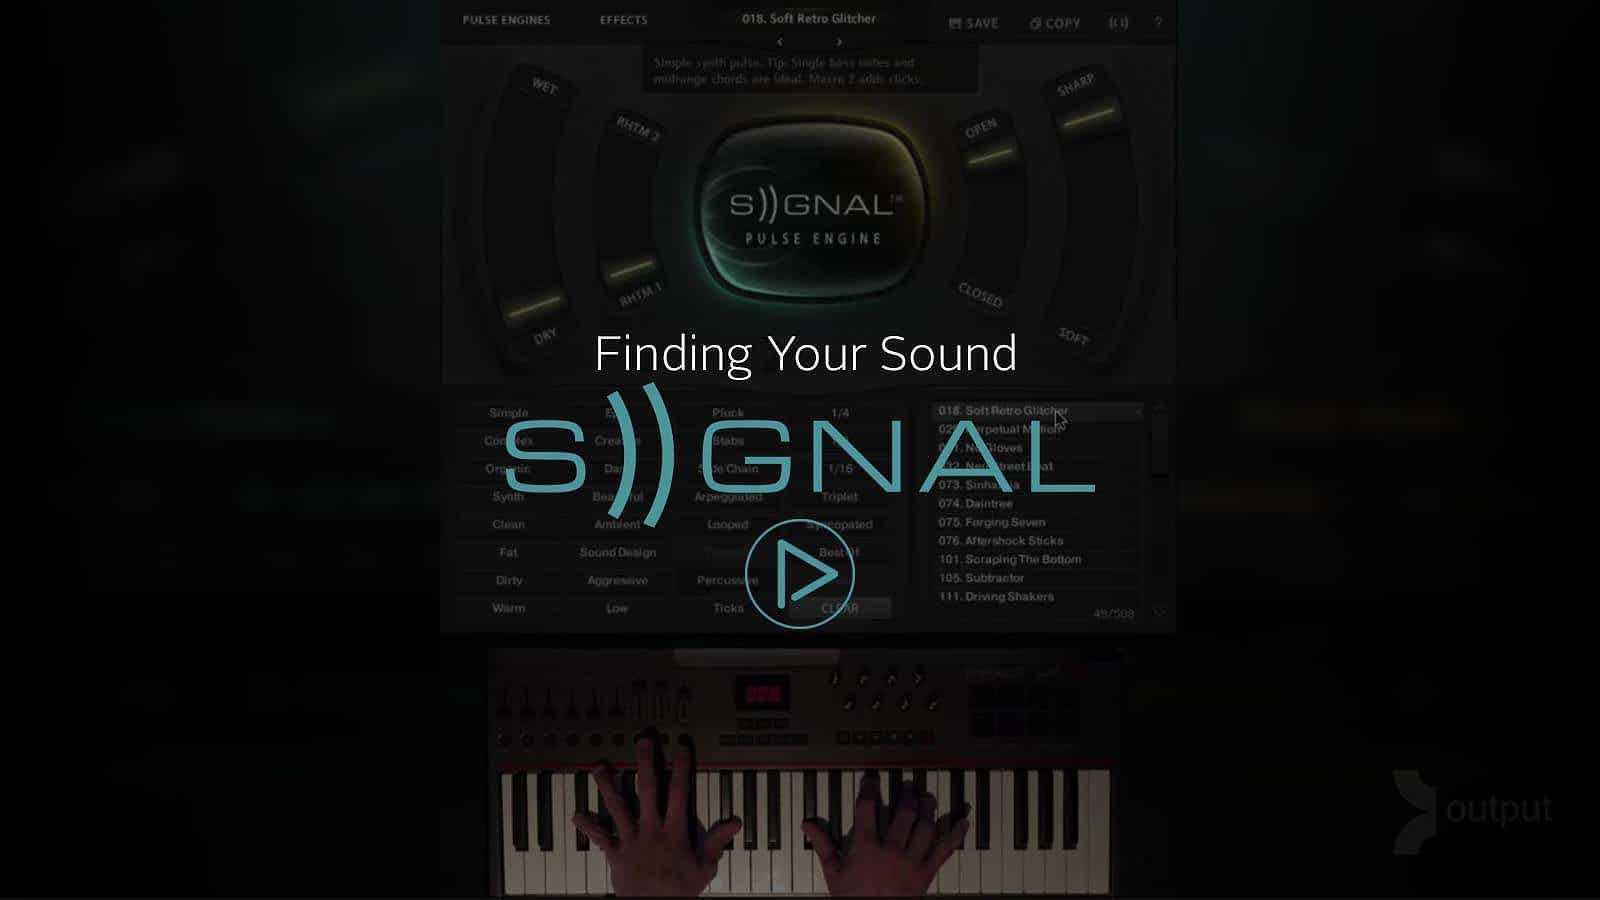
Explore the presets
Click on the box where the name of the patch is located at the top center and you’ll see the list of other presets appear. To save time, narrow down your choices by selecting the categories that seem the closest to what you’re looking for.
Since SIGNAL is all about rhythm, you can find selections such as Syncopated, Tremelo, and even specific note values like 1/4 and 1/16.
Still, sometimes it’s best to keep your options open. Maybe you know the kind of sound you’re looking for but have no clue about what kind of groove you’d like to hear it in. In that case, all you have to do is choose a preset from categories such as Synth, Ambient, Pluck, or Organic to get inspired.
In this case, we click on Synth Arpeggiated and end up picking the Tribute preset. By design, the preset is a monophonic synth that arpeggiates as soon as we play a chord.
Don’t underestimate the power of macros
Macro sliders exist so that you can customize any sound in a matter of seconds.
Sometimes it’s fun to dig deep and completely transform the sound you started out with. Other times, all you need to do is make it a little dirtier and play. And we get that!
As you can see in the video, the macros control different FX for each preset. The reason for this is because Output sound designers consider what producers might want to alter the most in each patch.
For instance, in the Tribute preset, you can adjust the brightness, dirtiness, and tightness of the sound with the macros. But when we select the High Energy Plucks preset, we get a choice between Rhythm 1 and 2, as well as Open and Closed.
Another reason why macros are so user-friendly is due to the simplicity of the terminology they come with. If you’re new to music production, you might not know what a low pass filter is. But words like “open” and “close” are a lot easier to understand.
Customize a preset and save it
Let’s say you had some fun playing with the macro sliders and ended up with a sound you really like. Luckily, saving your customized presets in SIGNAL is very easy.
All you have to do is click on the Save button at the top and select “Save as new preset…”
Give it any name you like and it’ll always be there waiting for you to play it!
If that’s not enough to get you excited, here’s another perk. You can select categories for your preset. Also, if you only want to see the presets you’ve designed, you can find them under the User tab. It’s as simple as that!
Discover the rich variations of the looped presets
Sampling is a classic strategy we often hear in hip-hop and R&B instrumentals. But looped samples can also serve as a brilliant backdrop when they’re played chromatically, regardless of genre.
The Airy Looping Piano preset proves this theory. When we turn the Pulse Engine off, we get to hear the ethereal swells of the piano. With the Pulse Engine on, the piano transforms into a pulsating synth pad as it gets brighter.
Make driving tracks with the percussive presets
Whether you’re into cinematic music or electro pop, you’ll find that SIGNAL’s percussive textures fit right into your instrumental.
In the walkthrough, Neil experiments with the Soft Retro Glitcher preset. Notice how he controls the macros with his MIDI keyboard? Manipulating the sound by turning actual knobs sure looks like a lot of fun!
Dig into tabs to find the unexpected
Finally, we select the Aggressive and Creative tabs and land on a Riser preset.
As soon as we notice the way the sound pitch shifts, we take the anticipation to the next level by playing with the Detune and Rhythm macros.
See how easy it is to find and customize SIGNAL presets? Now go design and save your own!