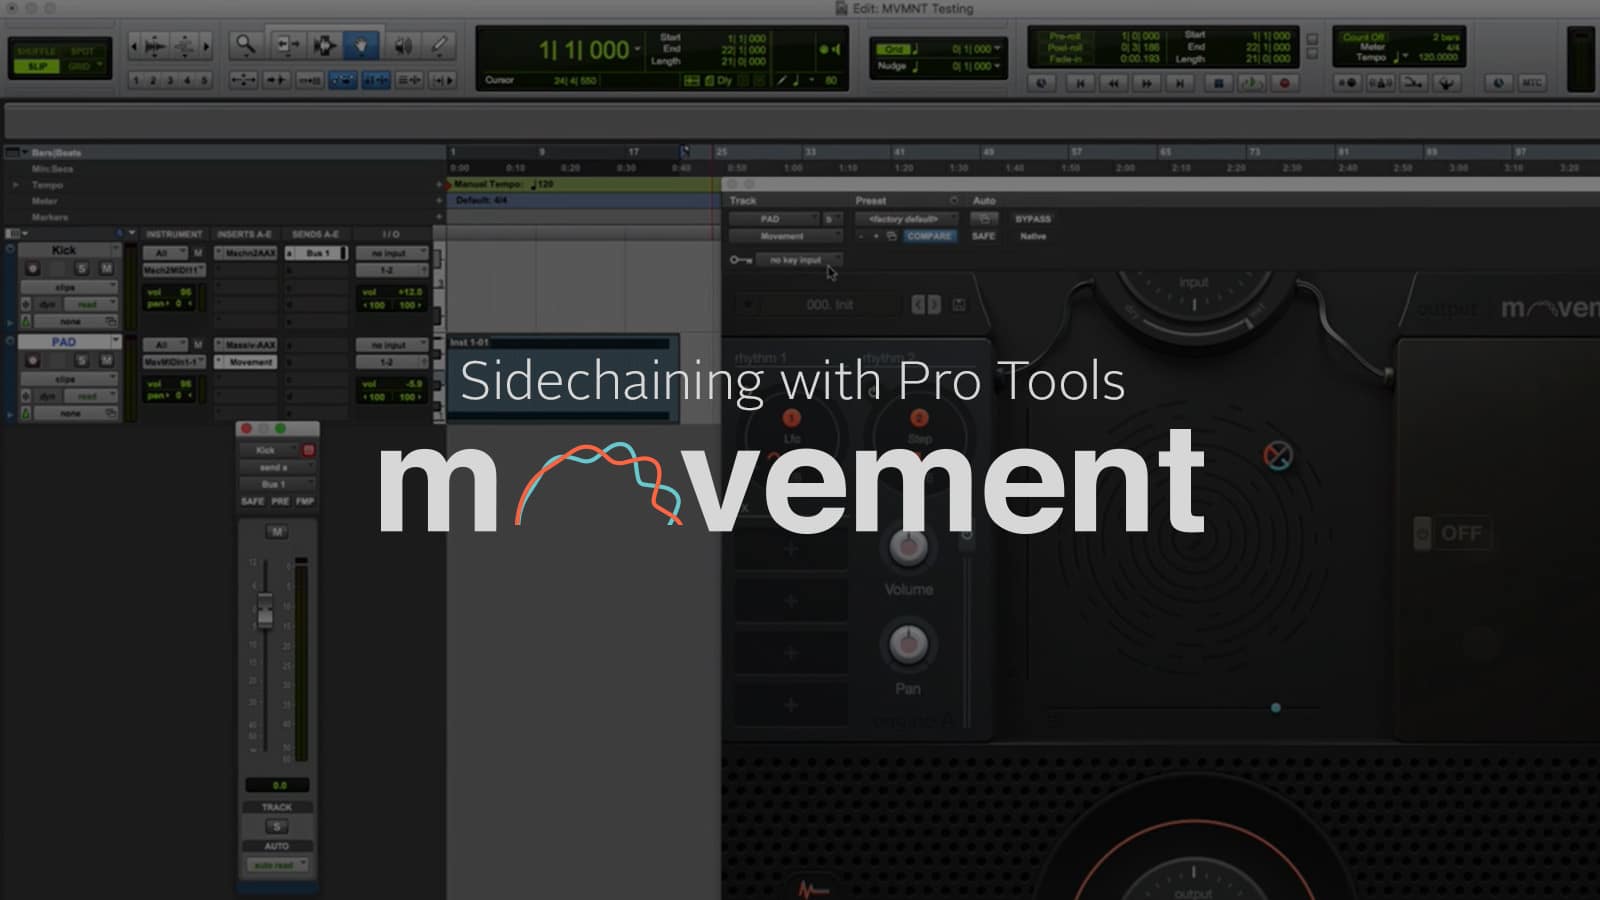
Sidechaining in MOVEMENT is a game-changer for your creative process. It’s a popular technique we repurposed to add more detail to MOVEMENT’s rhythm modules. Let’s use a simple 4/4 kick drum as a sidechain with MOVEMENT in Pro Tools. Ready to dive in? Let’s go!
Sidechaining is when you use the output of one channel to trigger compression in another. It’s a common technique often utilized to create space when two sounds sit in the same spot on the frequency spectrum. In dance music, for example, the bass is often sidechained to the kick drum. This means when a kick drum plays, the bass ducks, and the kick drum shines through.
Let’s make that happen using MOVEMENT in Pro Tools using a kick drum as the input source. First, send the kick drum to a bus and initialize the send level to 0db. Now hop into the dropdown menu next to the key icon and assign the MOVEMENT’s sidechain — or “key” input — to the kick drum’s bus. Set any rhythm to sidechain and start modulating by dragging a rhythm number to a knob.
Play around with the modulators to see how they enhance the aesthetic of the sound. The modulation engines easily switch between step, LFO, and sidechain. With the sidechain on, “duck” and “boost” affect how the compressor alters the sound. “Duck” makes the synth pulse and pump. “Boost” pushes the perceived volume of the synth louder with each kick.
You can automate these knobs to increase the intensity and stereo field. Using this method, an ordinary sound can have depth and pumping rhythm in seconds. Take a swipe at the filter parameters to see what kind of magic you can make.
To hear more wild FX made with MOVEMENT, check out this performance by harpist and composer Lara Somogyi.