Ready for some sound design? In this video, Plugin Boutique‘s Multiplier introduces his favorite REV X-LOOPS presets. And he also explains how you can transform one of his favorite presets into a graceful and ambient pad.
REV X-LOOPS is an extension of Output’s reversed sounds engine REV. If you already like playing around with REV’s sounds, this catalog of sparkly fresh audio content is for you. It’s a fantastic (and inexpensive) entry point to the Output arsenal of inventive sound engines.
X-LOOPS is similar to ARCADE in that you treat the keyboard less like it’s a piano and more like it’s a drum machine. Multiplier explains, “You’ve basically got two octaves worth of notes to play from, and each one of those notes represents a different loop sample.”
The basics
REV X-LOOPS automatically syncs to the master tempo of your project. This lets you be in the moment and not have to worry about pressing things at just the right time. So, when you hold down multiple keys at once, you can produce thick, moving textures that are in key and in the pocket.
The loop banks in REV X-LOOPS are organized by mood and instrument type. You can choose from swells, violin plucks, atmospheric sounds, and even drums.
Multiplier loves the Tribal Beat bank. He demonstrates how you can layer loops to create a bed of sticky percussion. It sounds like an expedition through a thick jungle in search of an ancient lost temple.
Crafting the ambient pad
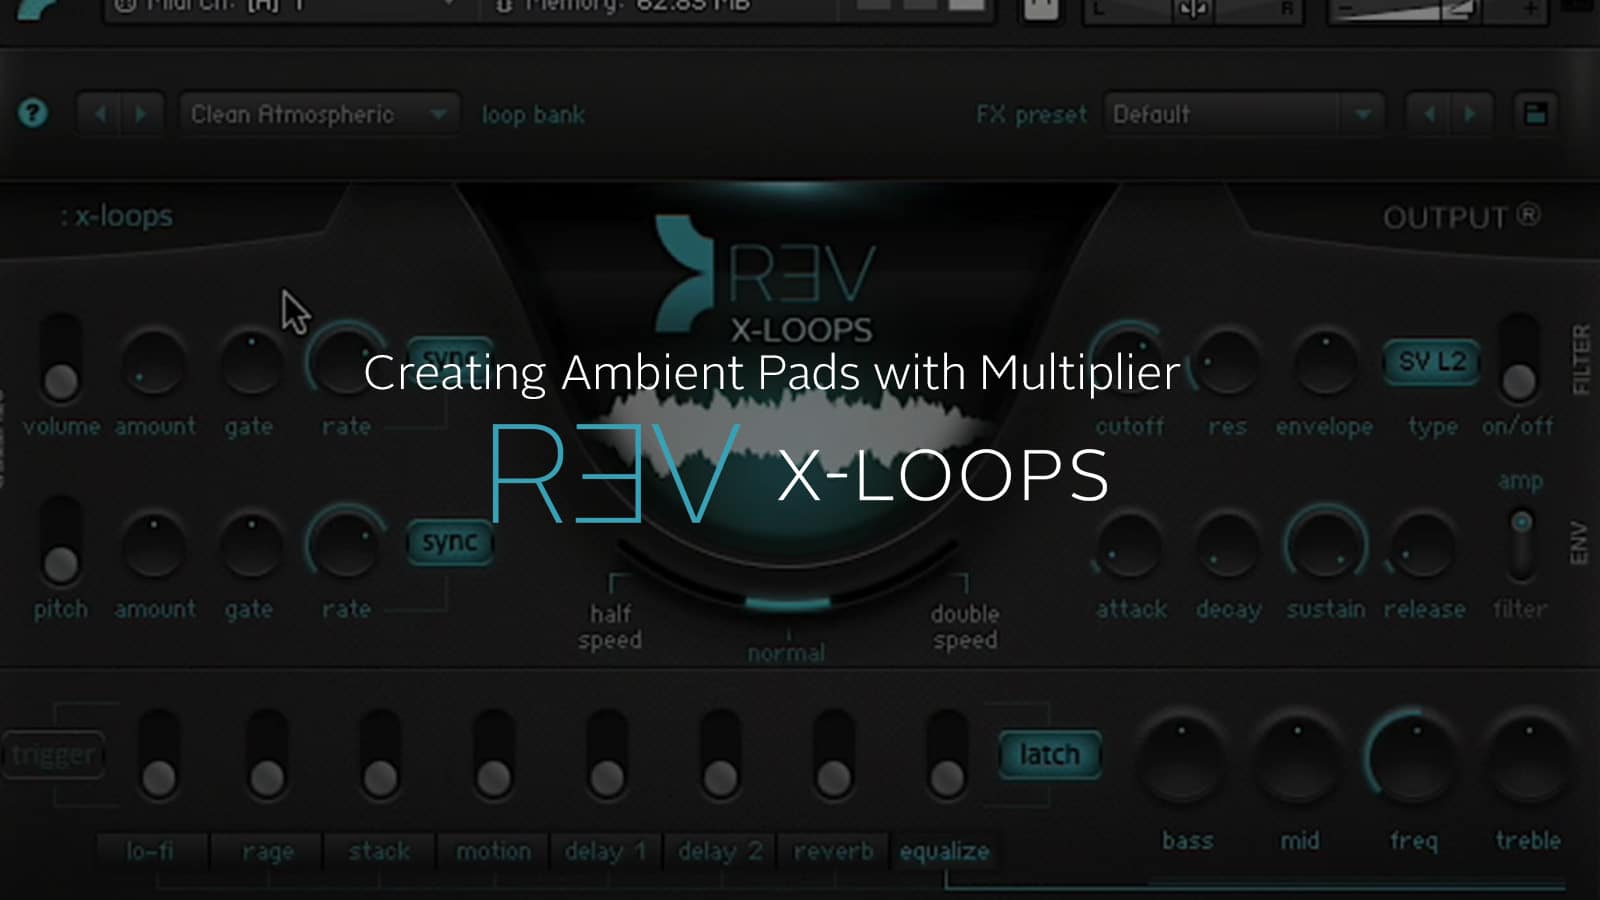
Now that we’ve checked out the dynamic array of sounds in REV X-LOOPS, let’s see how Multiplier crafts an ambient pad. First, he pulls up the Clean Atmospheric preset in the loop bank dropdown menu.
Once the starting sound is selected, Multiplier breaks down his two-step process to create the ambient pad. “The first one is going to be to dial in the envelope settings for the main amplitude of the sound,” he says. “We want a long sloping attack and a long sloping release.”
That means both extending the time it takes for the sound to come in and for the sound to go away. A good pad sound is often used for atmospheric effect, so making its start and stop more subtle helps the sound sit in the background of a mix.
To change these settings, head to the ASDR (attack, sustain, decay, release) filters located toward the right side of REV X-LOOPS. Then set the button on the far right to Amp. This ensures that all of your settings will affect the overall amplitude (loudness) of the sound.
Next, turn the Attack knob up to around 4.5K (that’s equivalent to four and a half seconds). When you stretch out the attack like this, the note will swell into existence as you hold it down.
Make a similar adjustment to the Release. Now when you let go of a key, the sound will continue to reverberate and slowly fade away. Think of this as a virtual sustain pedal.
Reverb as a final touch
Multiplier explains how adding reverb lends space and gives the sound an airy, atmospheric vibe. “The other main thing that makes it into more of an atmospheric pad is putting a lot of wet, big reverb on there,” he says. “When I say wet, we refer to the fact that you can actually hear a lot of the reverb, whereas dry would be quite a subtle reverb.”
To add reverb, navigate to the FX bank at the bottom of REV X-LOOPS. When the slider is up, the effect is on. To make adjustments to an effect, click on its name. Now turn on the reverb and slowly crank it to 100 to find your sweet spot. We don’t generally recommend maxing out the reverb, but there are no hard and fast rules in sound design.
Now that you have all your settings locked, go play around with samples in the bank. Layer and bounce between sounds to see what kind of magic you can make!