Ever wondered how to present your music to filmmakers? We nabbed the perfect expert. With over 25 movies and a dozen albums under his belt, Scott Glasgow is a highly-acclaimed composer in the industry. Understandably, his studio setup and workflow are a cut above the rest, especially when it comes to presenting his work to filmmakers. We asked Glasgow to give us the rundown of how to present your music to filmmakers and get your music approved. He was nice enough to oblige.
The basics
When writing music for any kind of media, one of the most important aspects to understand is that the process is a collaboration between you (the “music department”) and the filmmakers looking for music. You’re pitching your music to people who may or may not have any musical abilities. Unlike writing songs in a band or writing a symphony (where decisions are made by one person or a group of musicians), here you often have to work with people who have little-to-no musical knowledge.
One of the main challenges film composers like myself face during the collaboration process is getting music approved through a series of meetings (before it’s either recorded live or delivered to a dub mix stage for the final mix). This may happen with the director of a film, but sometimes you’re collaborating with producers, too. I like to call this process my “presentation,” but I’ve heard many industry pros refer to it as a “dog and pony show.”
On films with larger budgets, a music editor is usually in the room monitoring playback with the director and producers, so we composers might be a little more hands-off than usual. When there’s no music editor, the collaboration is a process that is usually a fun challenge. Part of that challenge is how to monitor your audio signal in the most efficient way possible to sell your track as a perfect choice for that scene.
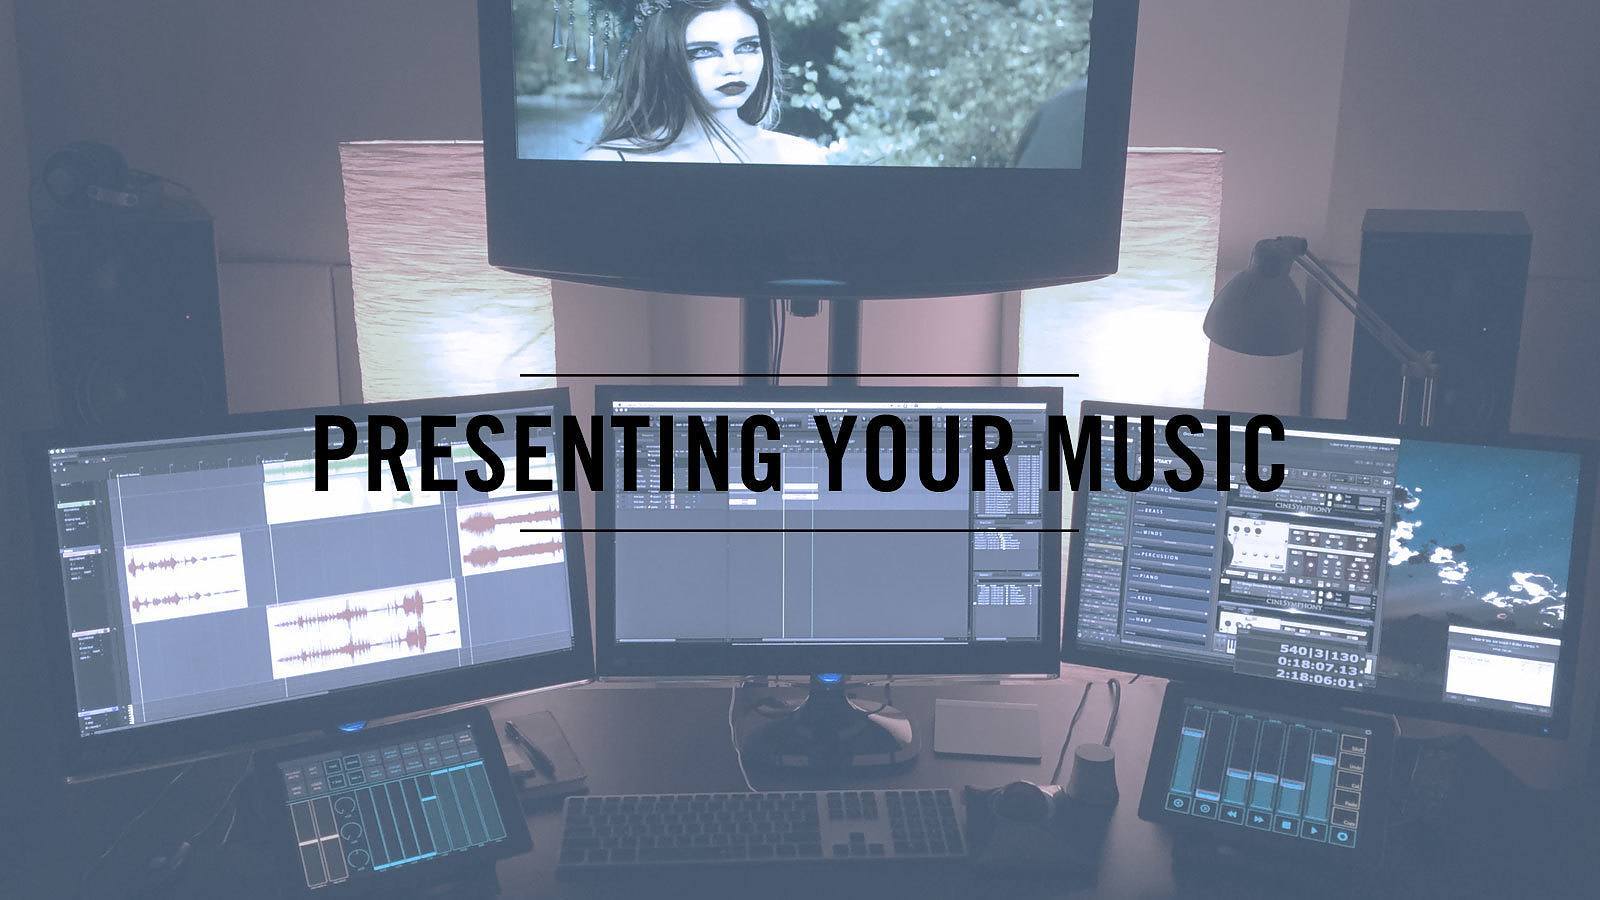
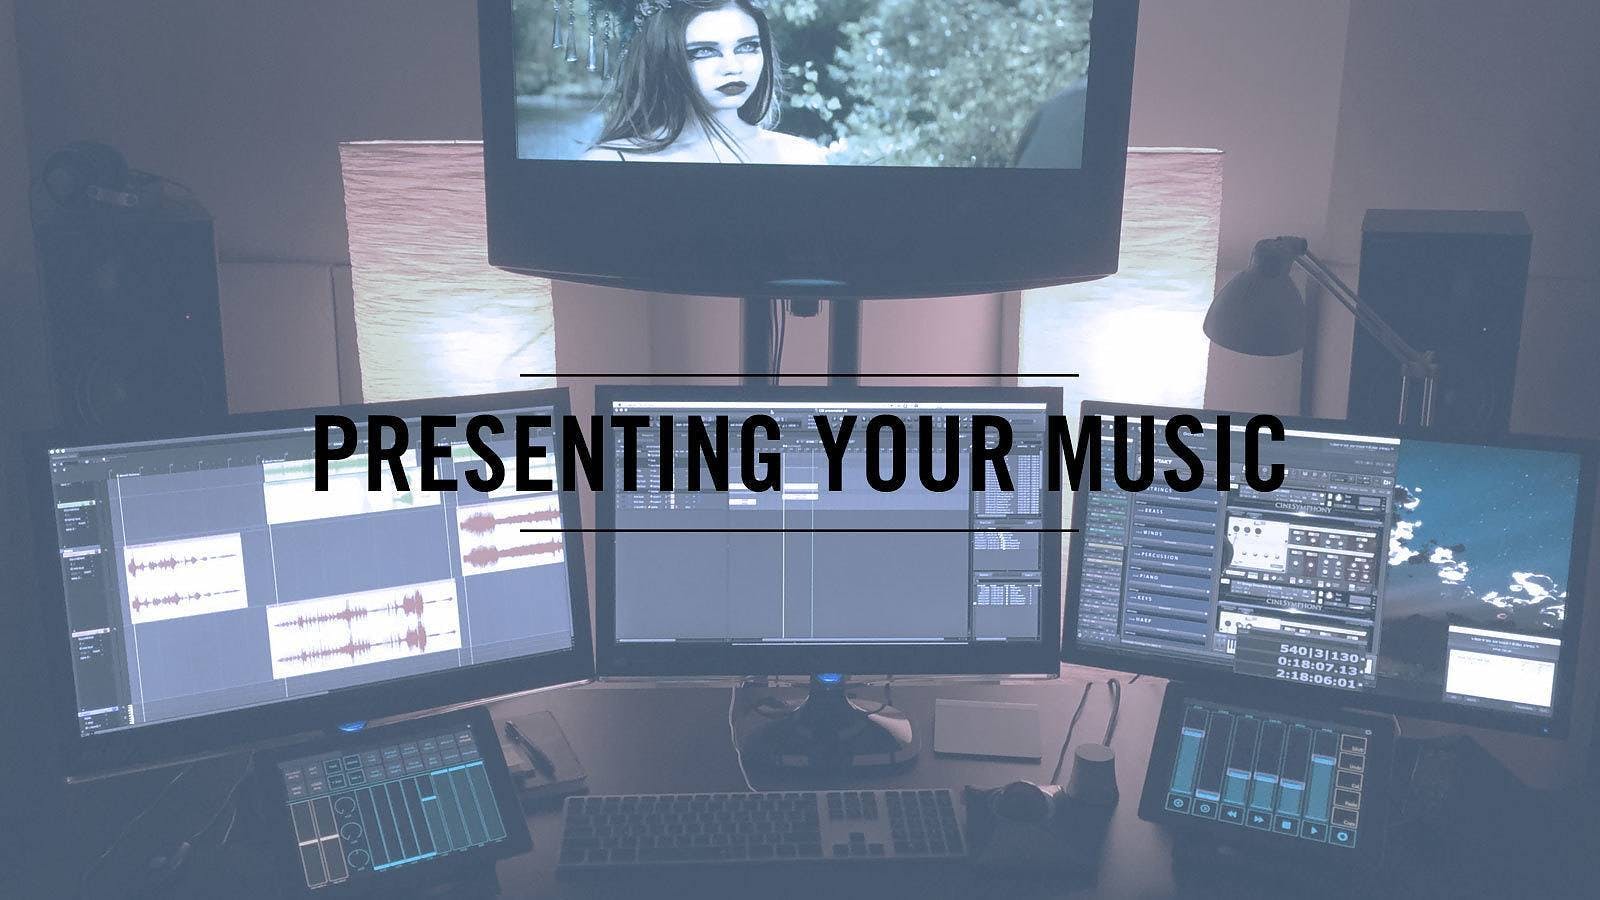
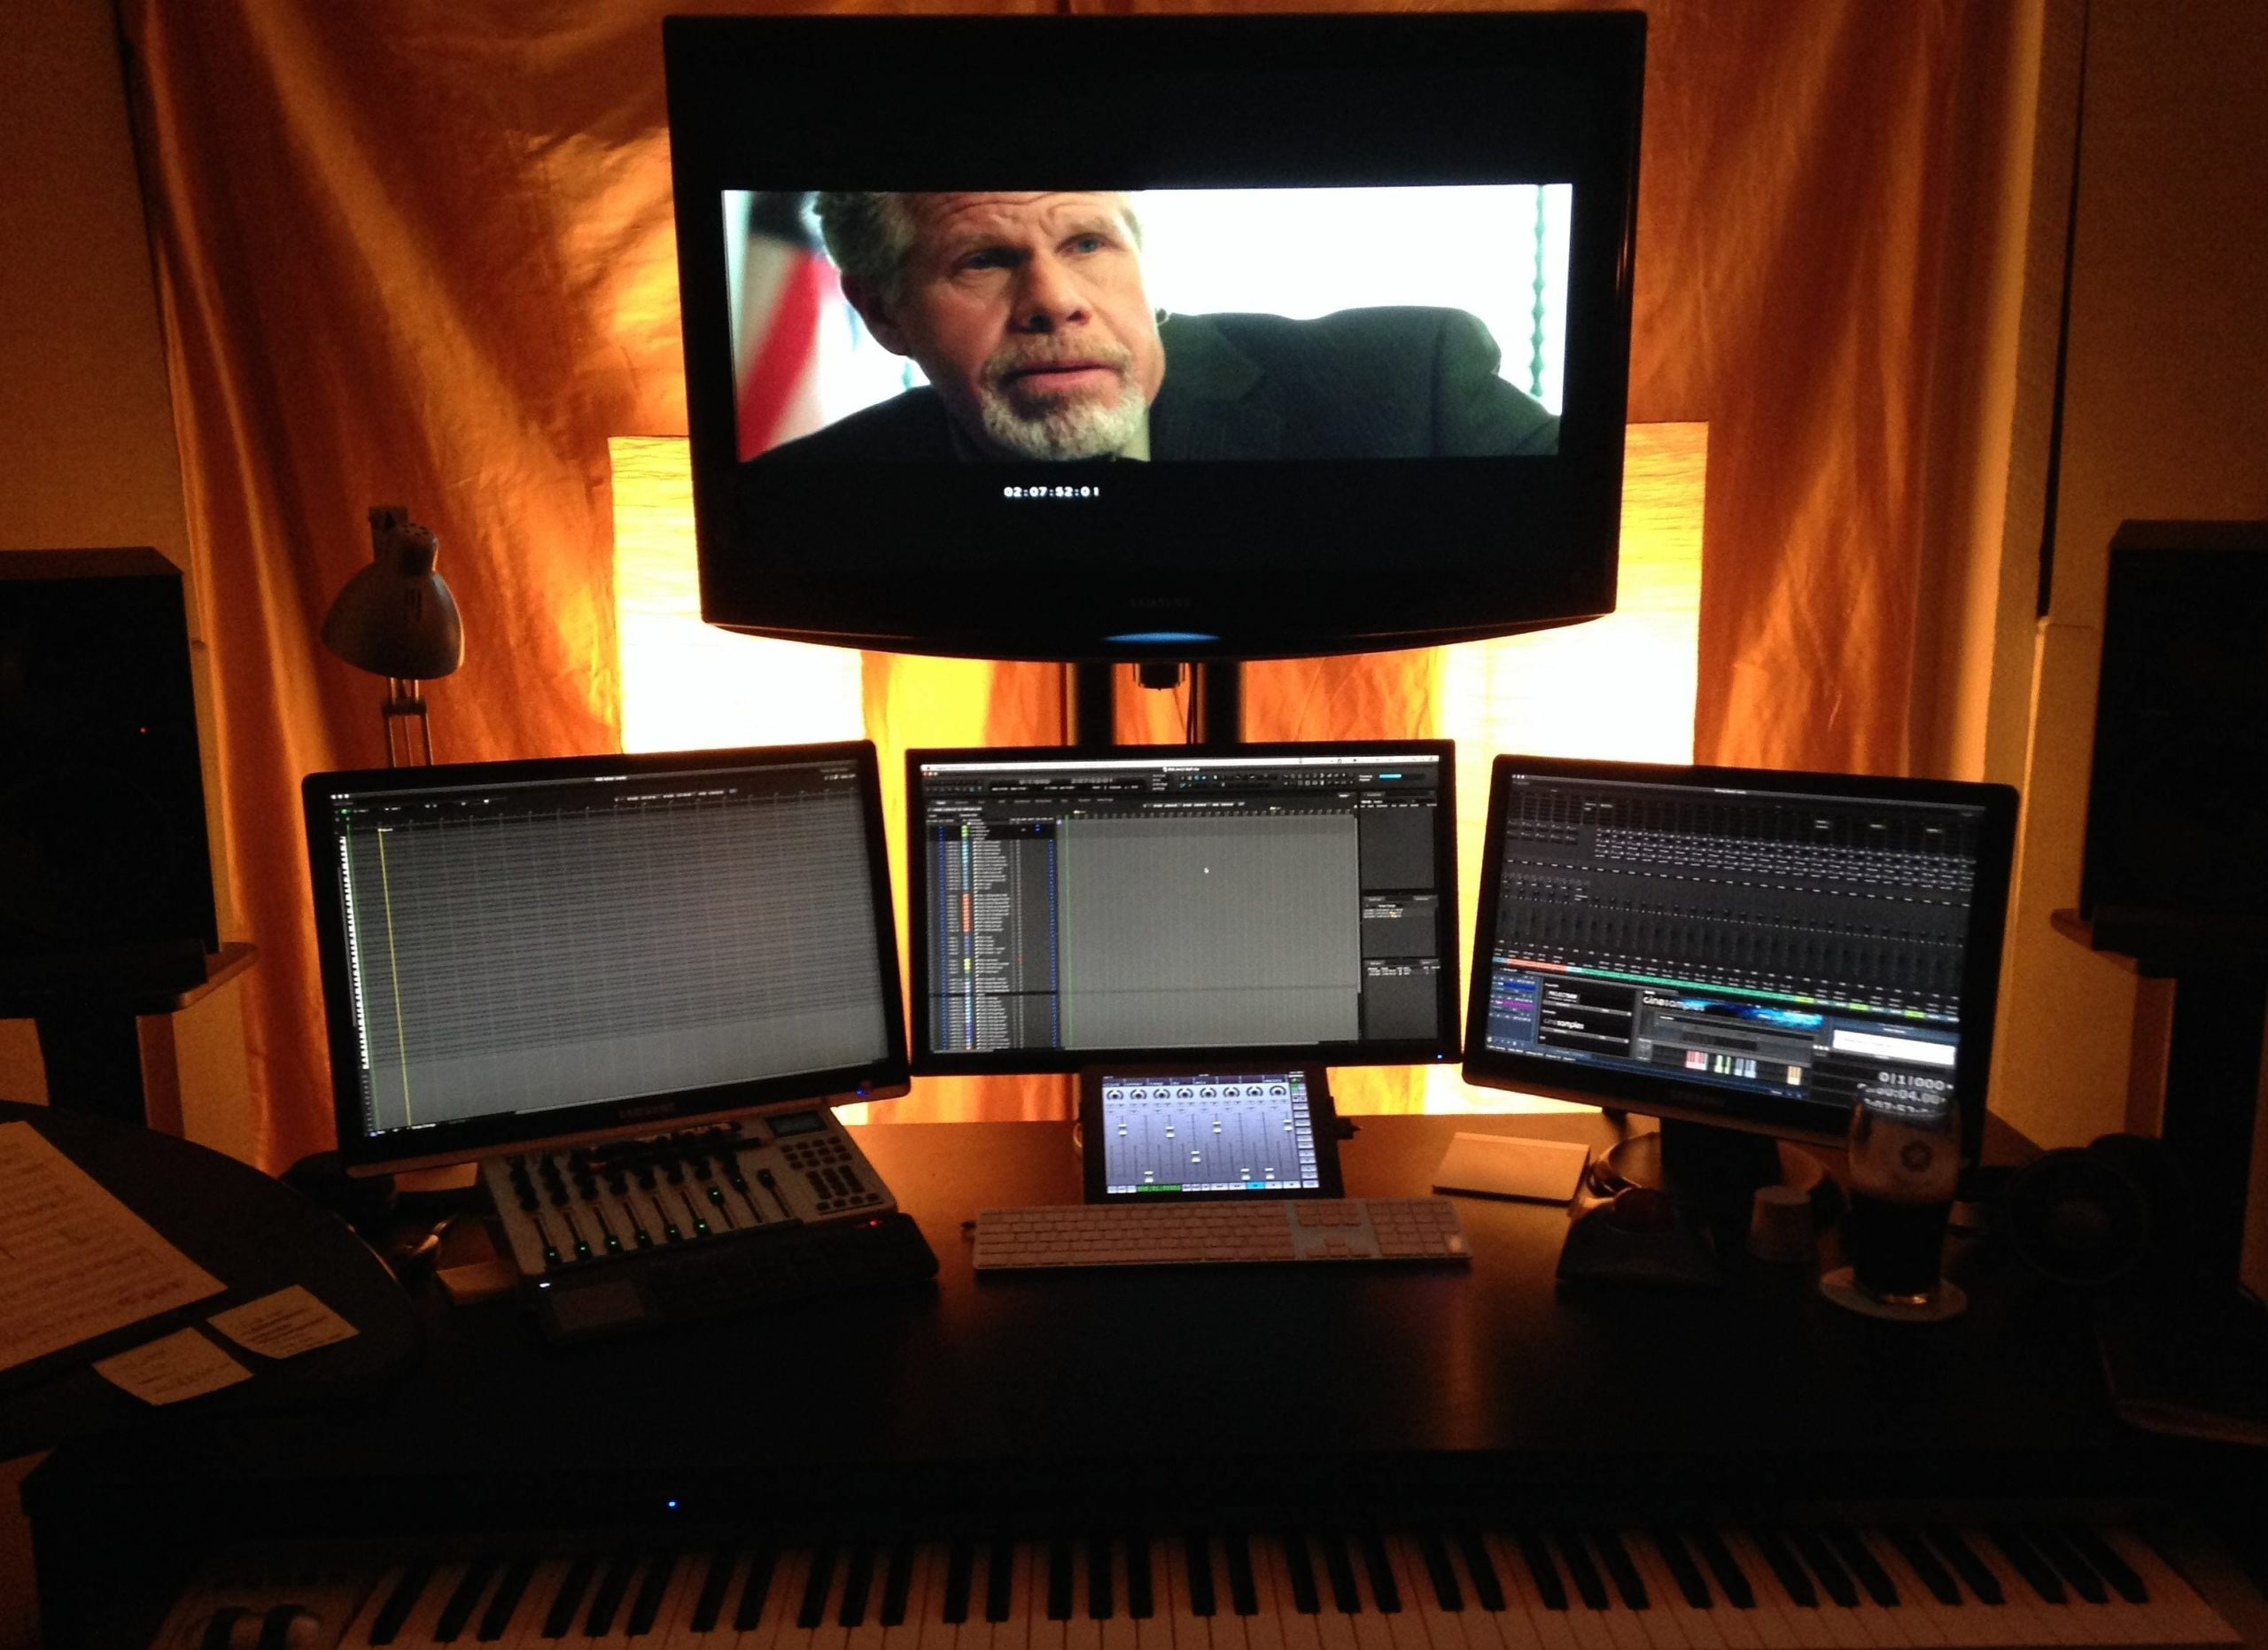
Film composer studio setup
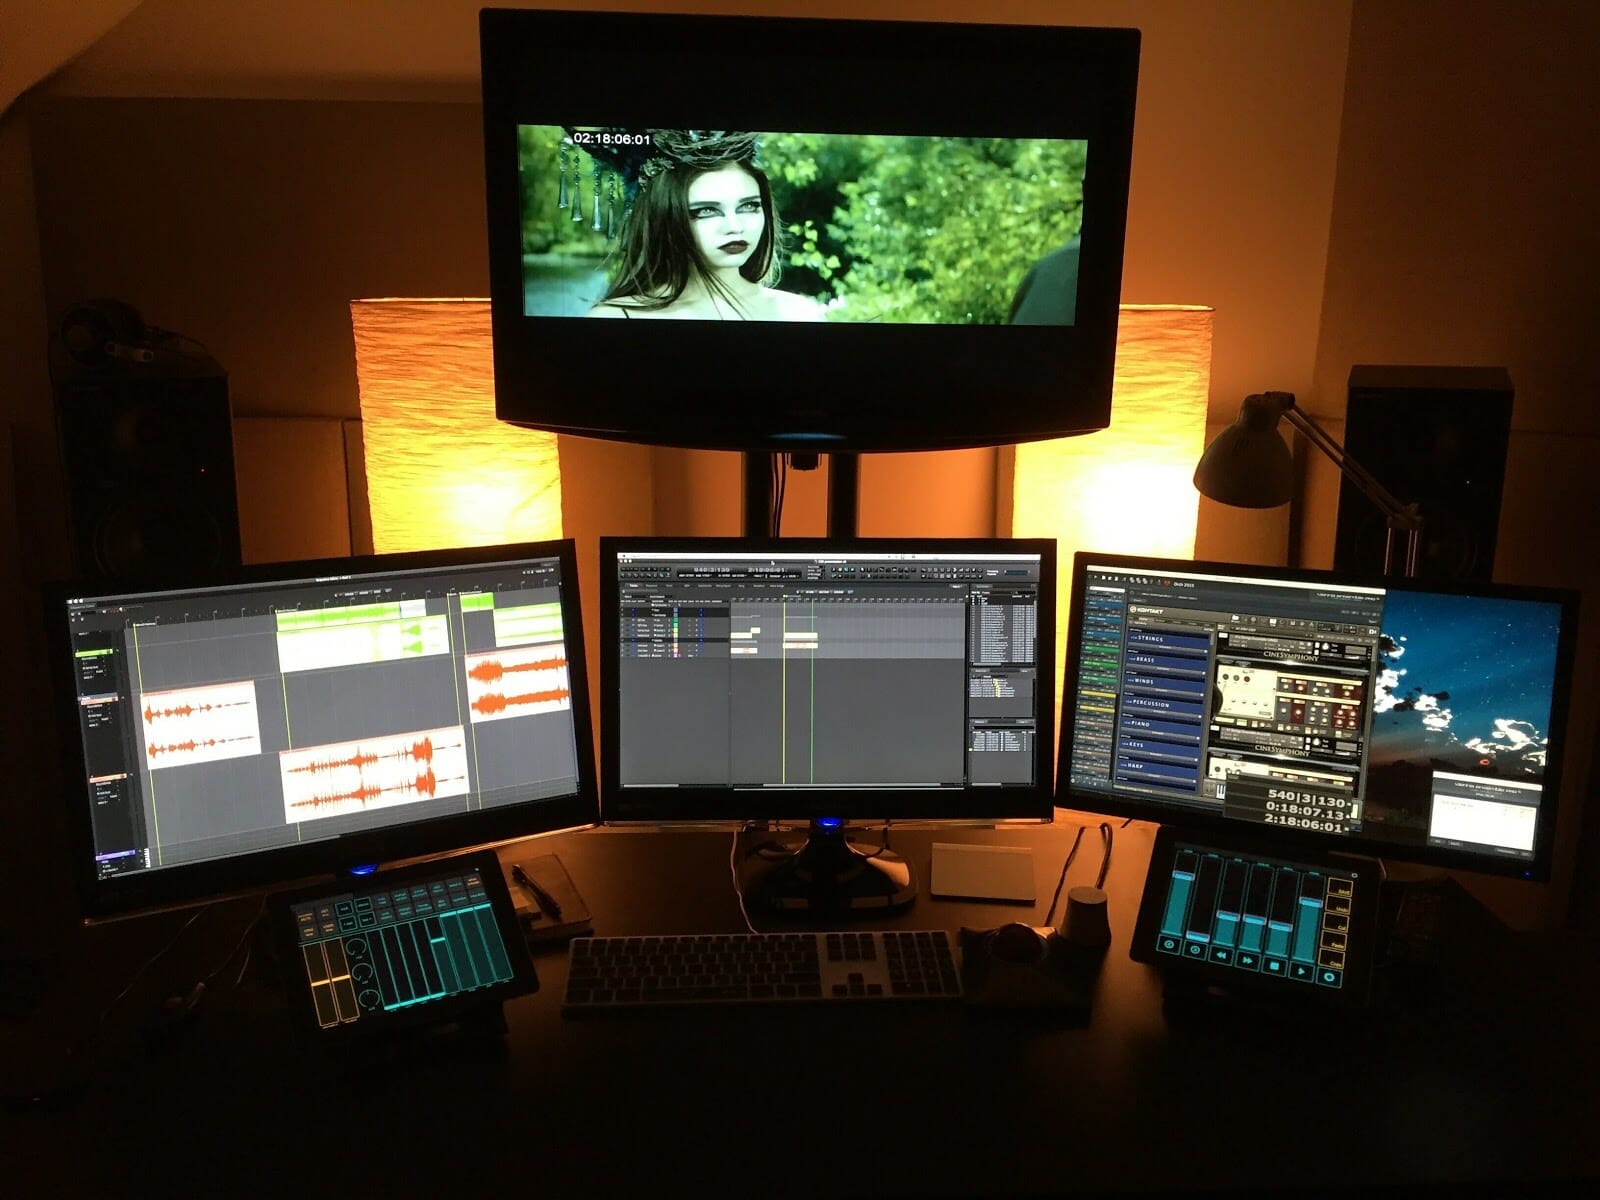
New composers ask me how I set up my studio. I keep it simple:
- One computer: Mac Pro 12-core with 96GB RAM
- Audio interface: Universal Audio Apollo firewire with TB add-on card
- Apogee Big Ben: for synchronizing all digital equipment in the studio or rented gear like a mic preamp
- 2 iPad 2s: one with TouchOSC for MIDI/key commands, another with Lemur for audio monitoring
- 88-key keyboard
- Near field monitor speakers
- 4 video monitors
My iPads run TouchOSC and Lemur, both with a custom set of faders and pads that I created. OSCulator is great for two things: to make sure my key commands work in my sequencer and to keep a monitor on both Lemur and Touch OSC signals coming into the sequencer.
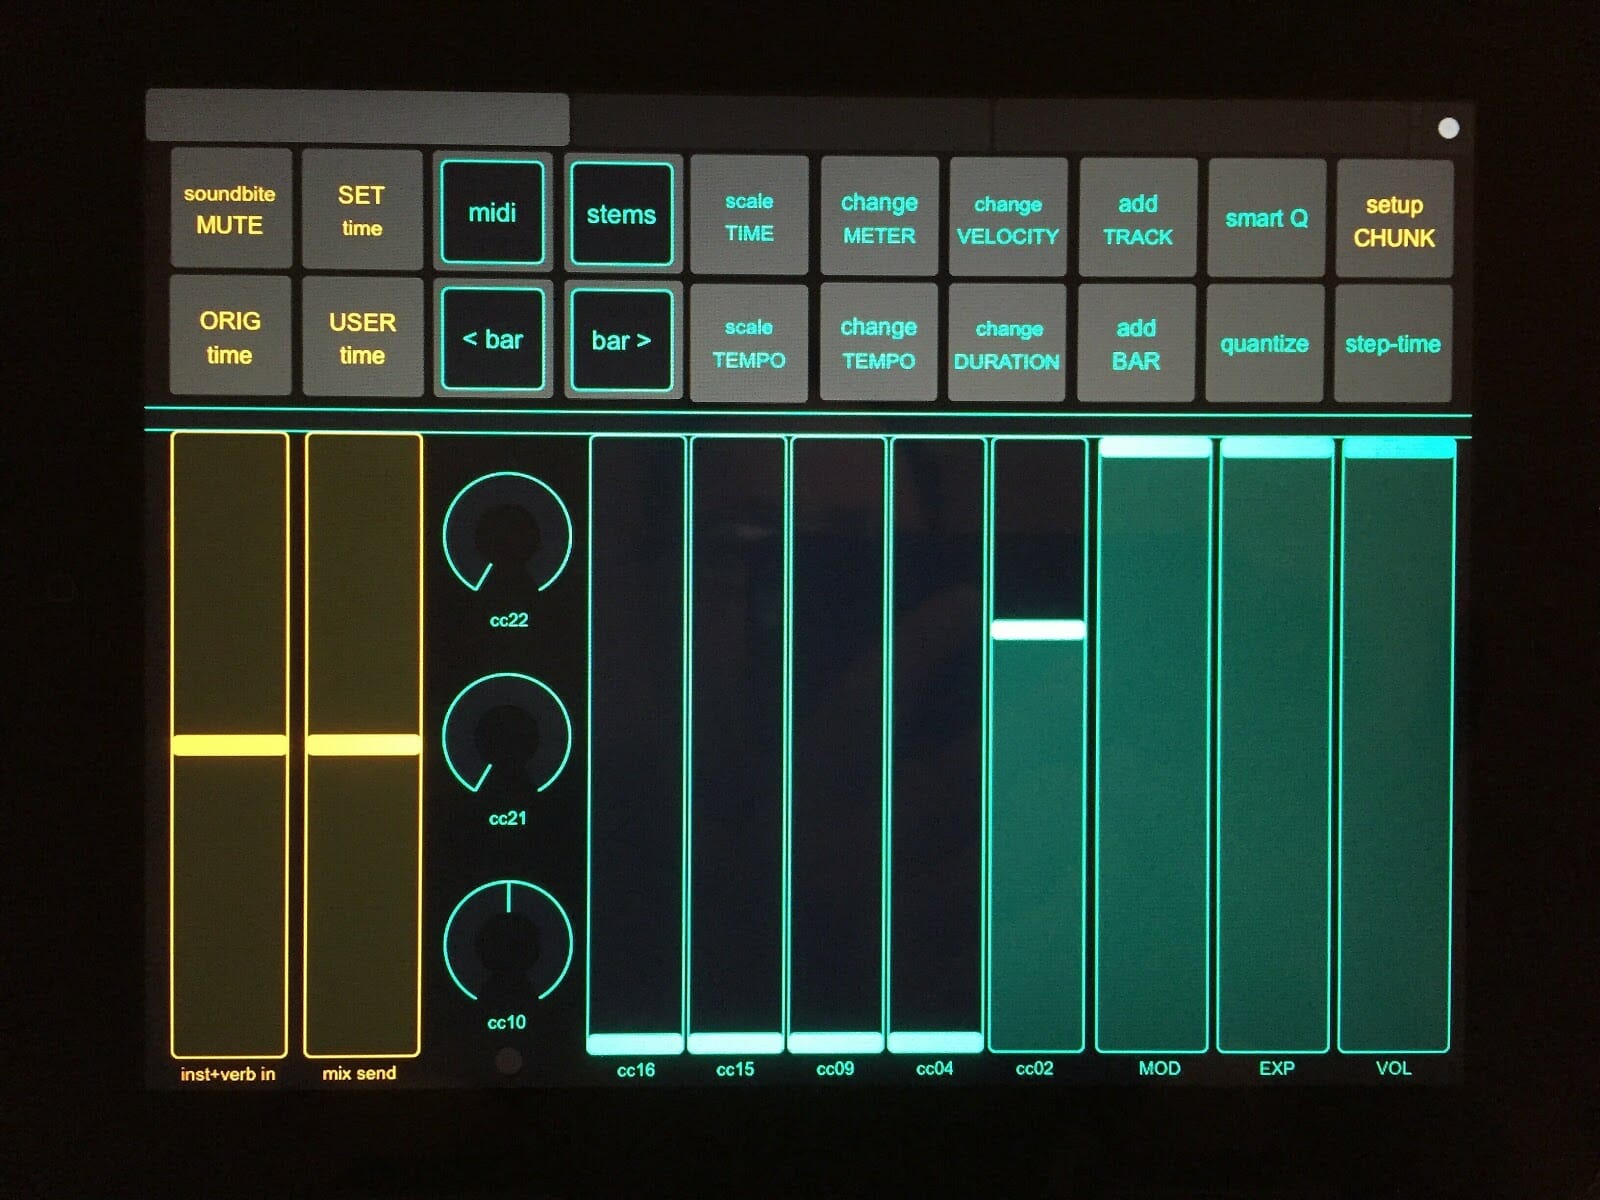
Detail of iPad running TouchOSC
Furniture: your film composer desk space
An important thing many composers overlook when setting up their studio is ergonomics. You’ll be spending many hours working at your desk, so give yourself elbow room and find some great furniture.
I use an Aeron chair, but there are endless options out there.
It amazes me how many composers’ work stations are cluttered with gear like a big 88-key MIDI keyboard. It’s claustrophobic, and having no place to rest your arms leads to fatigue.
I have a sliding stand for my MIDI keyboard. Another option is to use an attached sliding shelf to push your keyboard under the desk, like with Output’s Platform. There are many times I like to work out ideas with pencil and paper, and simply pushing the keyboard under my desk provides plenty of room for me to write.
The audio presentation
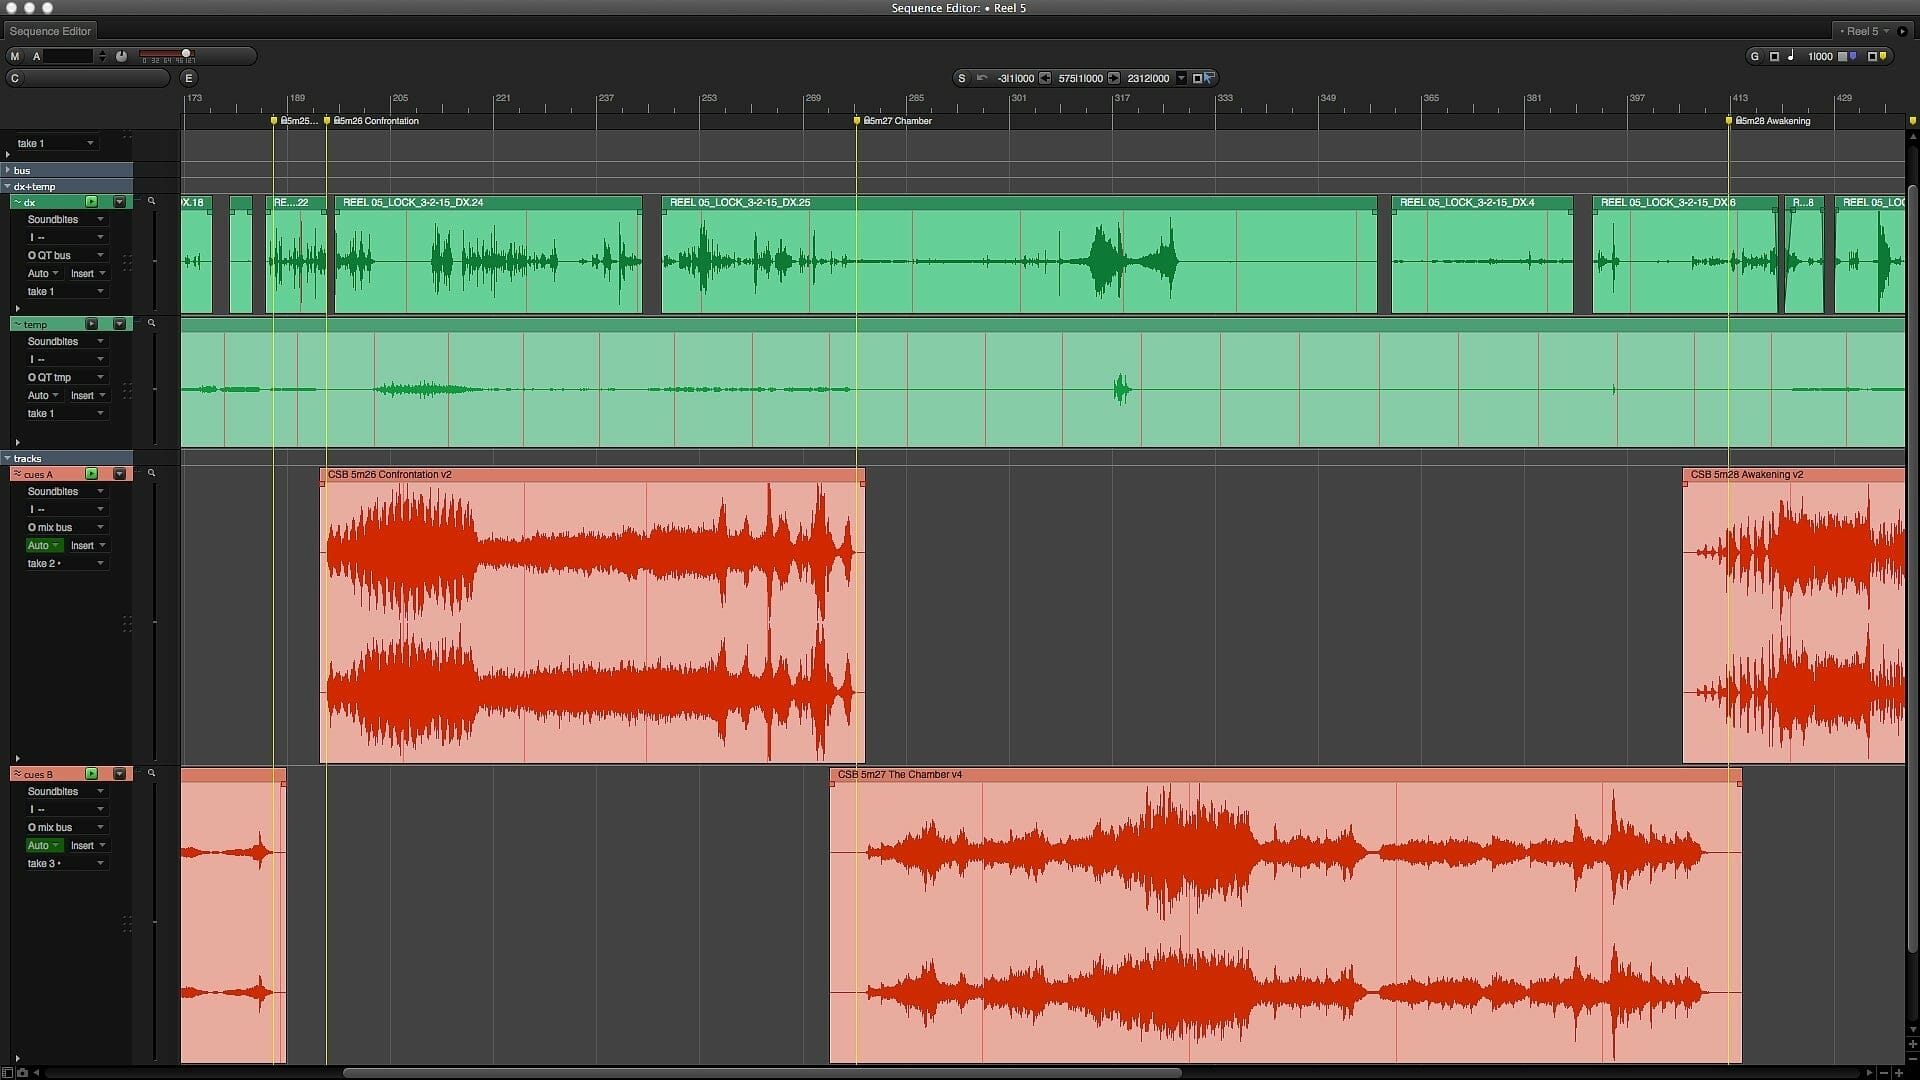
To prepare for any presentation, I create a simple “presentation session” file in my sequencer. I use Digital Performer, but any sequencer will do.
This presentation session file consists of:
- Bank of bus insert tracks (for monitoring)
- A set of tracks for dialog
- Sound FX
- Temp and other (will explain later)
- A pair of cue tracks in A/B format (for instance, I have a track labeled “Cues A” and one labeled “Cues B”)
- One MIDI track set to a piano sound in Kontakt (for working out on-the-spot ideas)
I use this presentation session file for all my spotting in a film with the director. I also use markers to designate where music will fit into each scene. The advantage to setting up a session this way is it presents a stereo mix of my music while removing all MIDI, plugins, or any production-type tracks I’m using in big sessions.
Playing back a stereo track of music also helps to keep the CPU usage low while playing video, audio, and bus tracks.
Unlike this presentation file, each piece of music in a film (called a cue) gets its own session, which can have anywhere from 200-500 tracks. These sessions have tons of plugins and virtual synths hosted in Vienna Ensemble Pro, streaming all the audio and MIDI internally on a single system.
For me, the most important place to exchange ideas with a director is during this presentation session as it’s where all discussions happen regarding musical choices. Any fixes to the music are noted. Once the changes are made, the director returns to hear them in a new session.
Use stereo mixes instead of cue sessions
Because there may be issues or time lag between opening dozens of cues with a large number of tracks while a director is sitting in your studio, I prefer using stereo mixes.
I like to avoid “co-composing” with a filmmaker. As soon as I hear a filmmaker talking about piano lines or whistling what he thinks I should be writing with the flute, I know I’m in trouble.
Therefore, a presentation file with only stereo tracks is the key to keeping the “collaboration” working smoothly. I don’t want them talking music specifics, but rather speak about the emotion and direction of the scene — just like how they would talk if they were working with an actor.
Monitoring control to the speakers
If you were to create quick mixes and bounce them to video QuickTime files for your collaborator to listen to, sometimes the music in relation to the dialog appears too “hot.” In this case, you may get notes to rewrite the cue because for some reason “it was too loud” or “something wasn’t right.”
My solution is to create a mix on the fly that isn’t recorded, but mixed while the filmmaker is working with me and listening to playbacks.
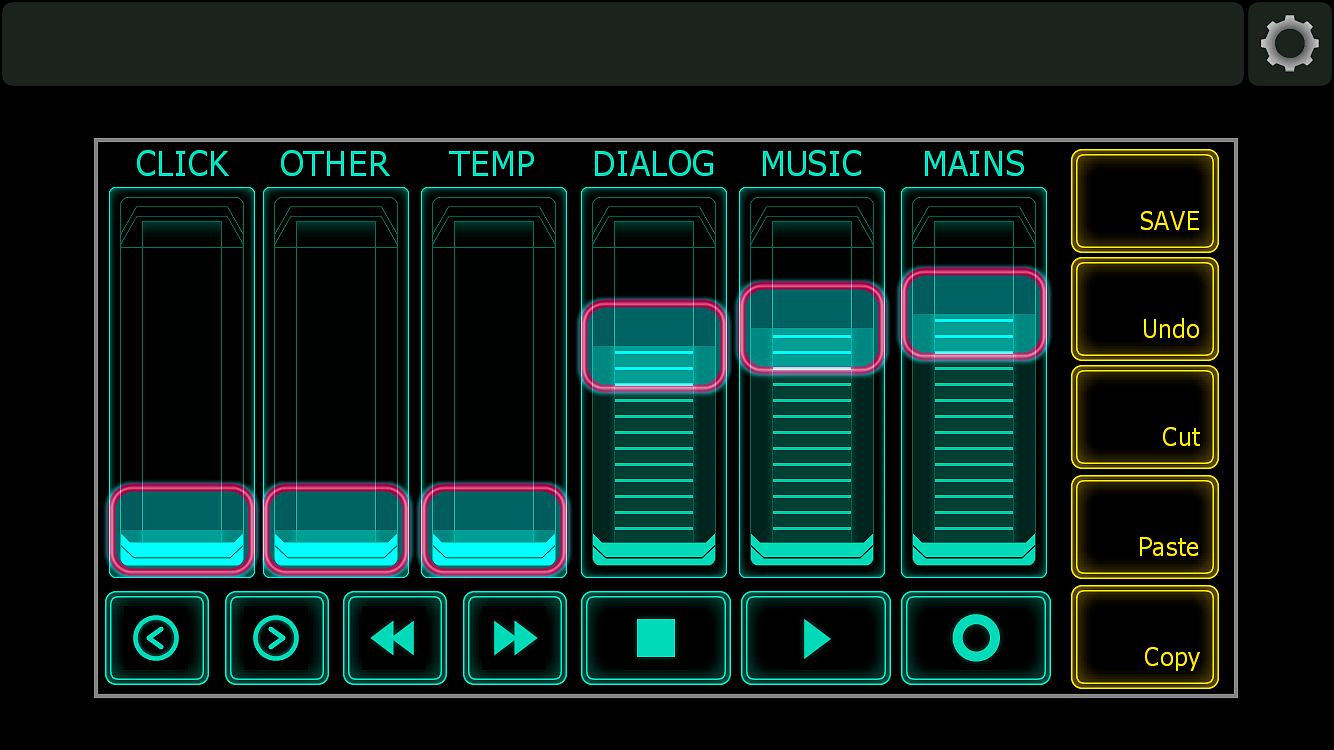
Here are my iPad isolation and fader controls for each track or set of tracks:
- Mains
- Mix (anything that is my music)
- Dialog and SFX (which we call “DX”)
- Temp music (almost always turned off until someone says “but in the temp there was this cool thing”)
- Other ideas (for any tracks you test against the picture)
- Click (which you really don’t need)
- Buttons for record, play, stop, jump a bar back or forward, and jump a marker back or forward
- Utility pads that trigger save, undo, cut, paste, and copy
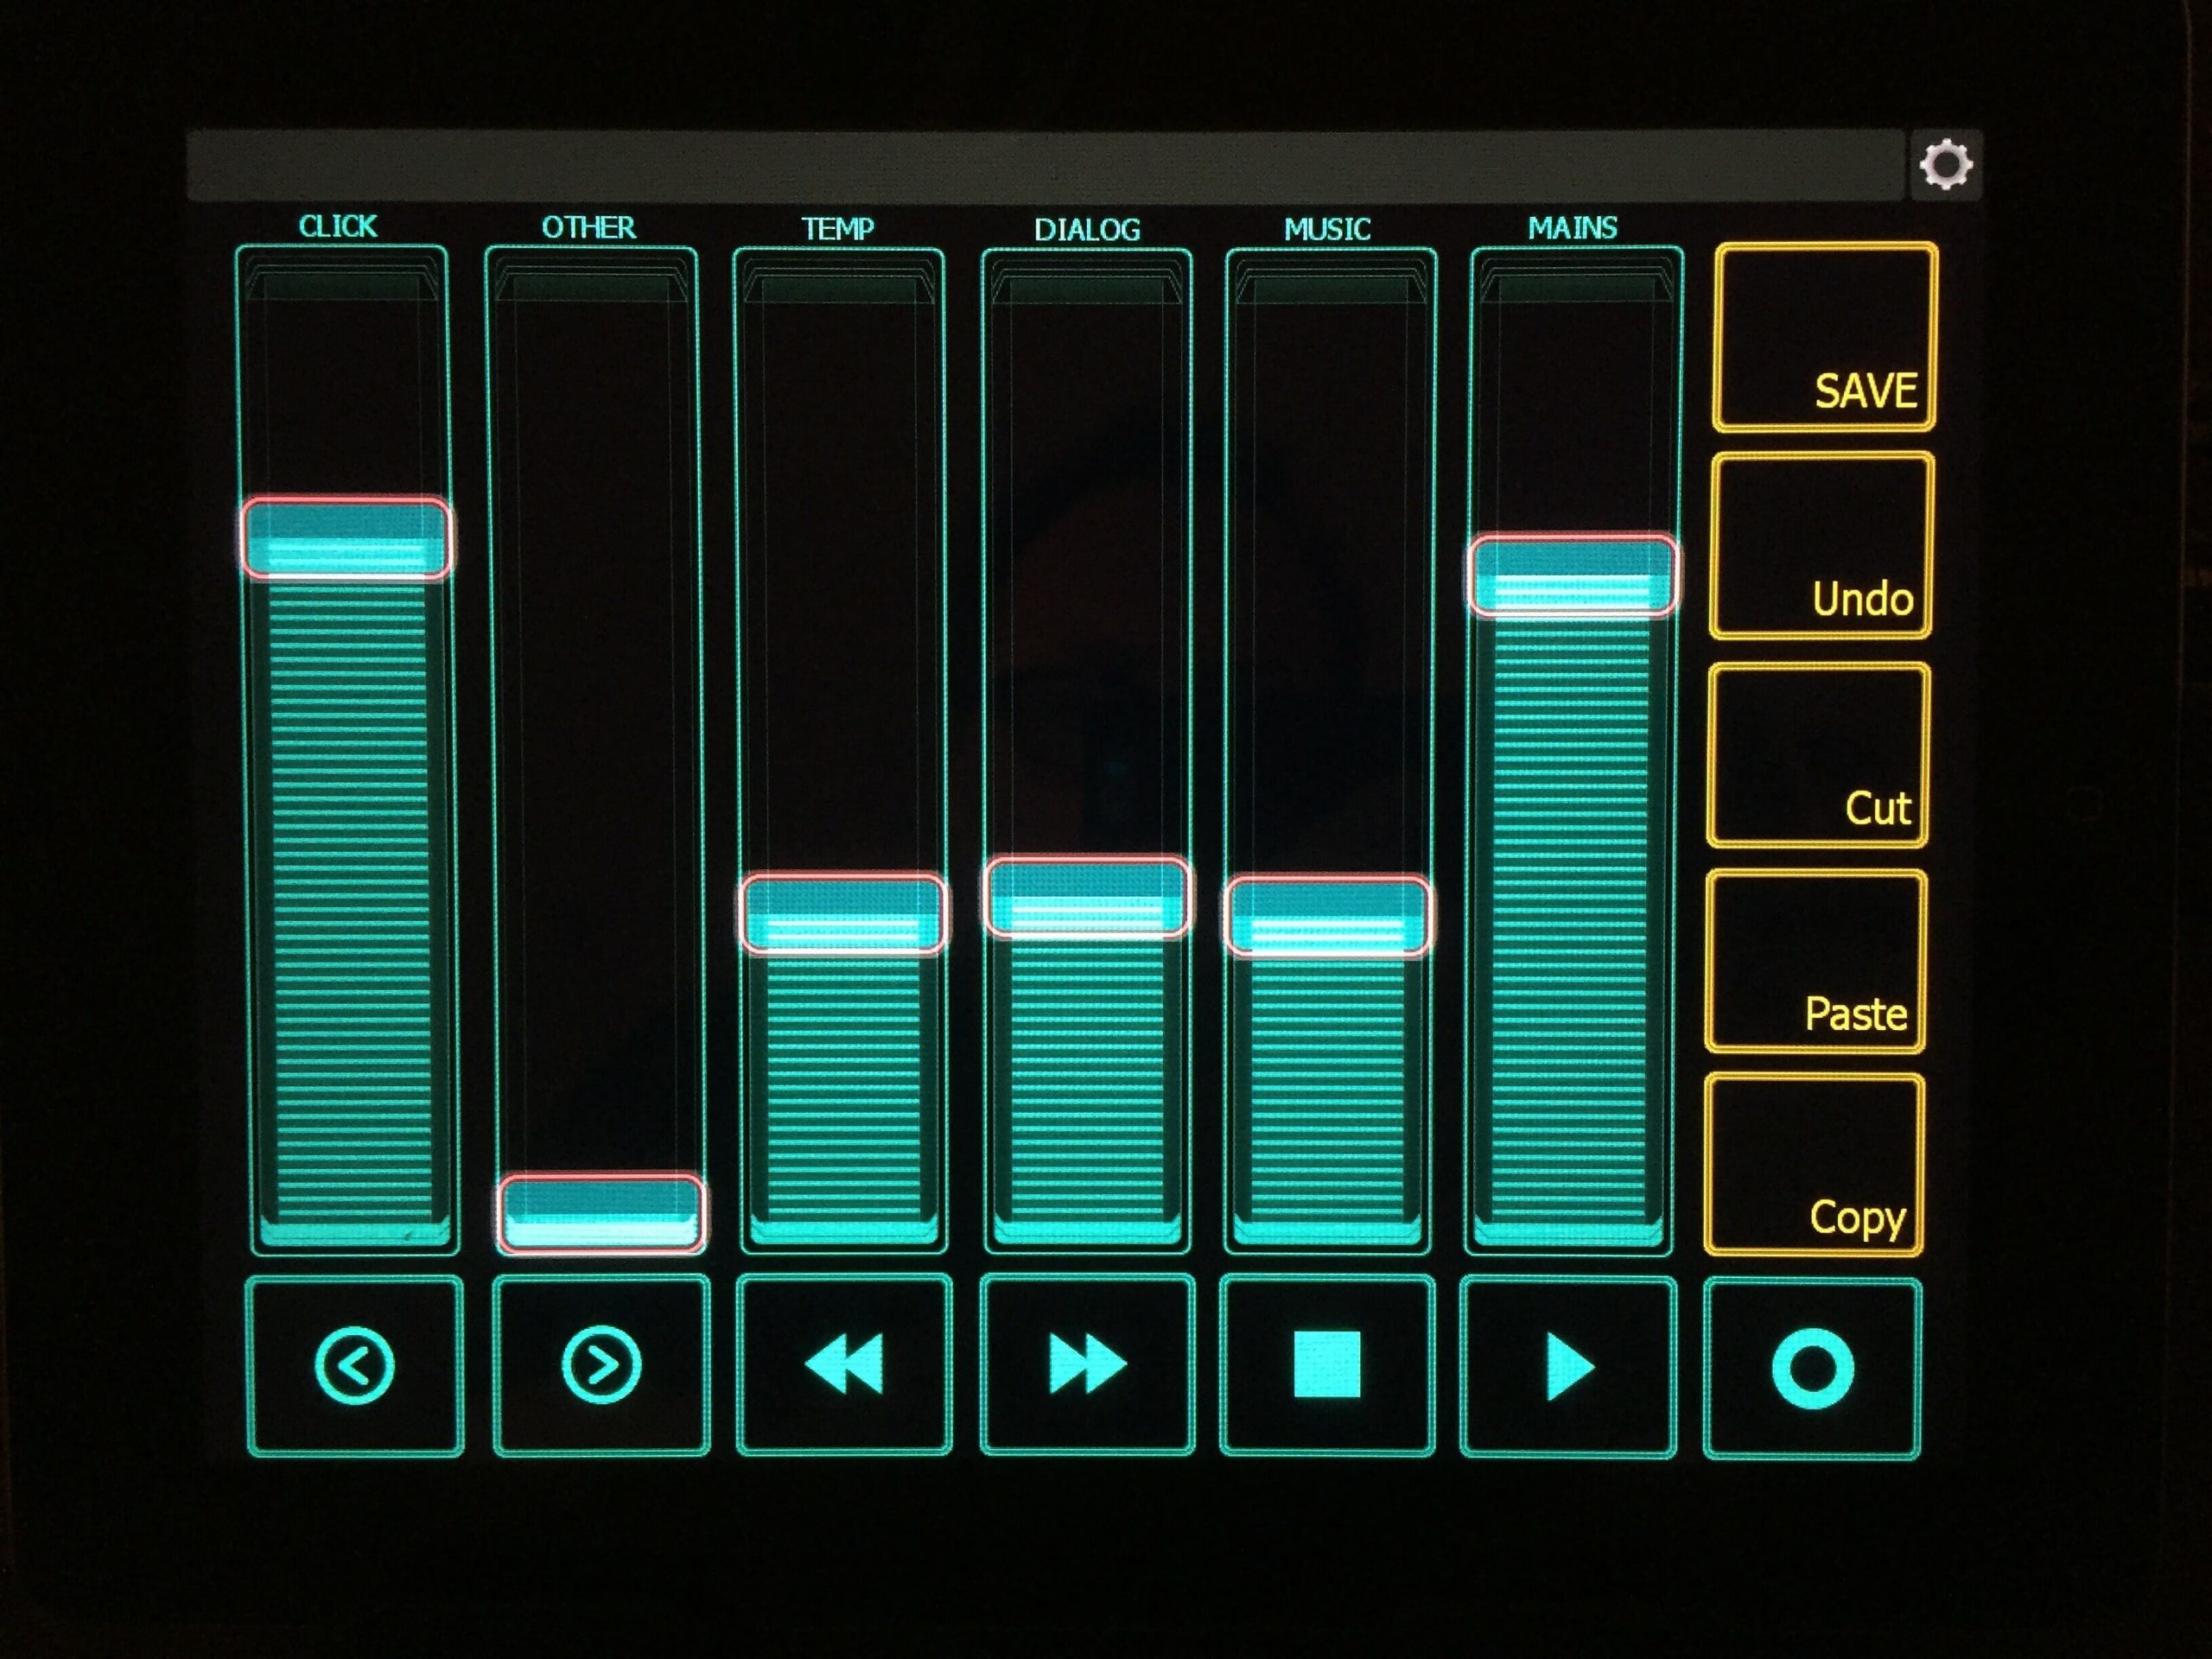
The beauty of this iPad monitoring setup is as you play back the reel of film where you placed your cues, you can fade the music, dialog, or main volume up or down in real time. If your collaborator is having trouble hearing how it fits in the scene after a few playbacks, you can be so bold as to hand them the iPad with this control so they can mix the balance themselves.
Important: You’re not recording fader moves. You’re looking for approval of your music for the scene. If it requires them showing you what they want, so be it — give them the iPad control.
Present your music personably
Only a few years ago, I’d sit there like some mad scientist, presenting my music to filmmakers with my back to them while controlling the computers/sequencer for levels. It was isolating and impersonal.
The beauty of having 100 percent control over the audio via your iPad or iPhone is that you can sit next to your filmmakers as they listen to your tracks. This allows for conversation and an open dialog about the work, rather than a “ta-dah — now what do you think” dynamic.
It’s much easier to read people’s faces when you’re not spinning your chair around to see their reaction.
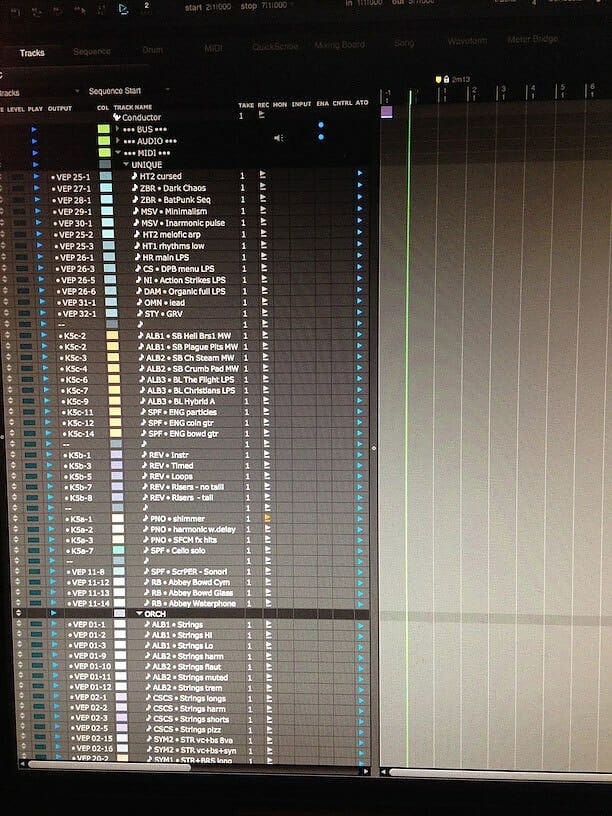
Bonus behind the scenes
Here’s a screen capture of my full session setup for a 2014 film called Poker Night in the United States, and The Joker in the United Kingdom. You’ll see that there are many MIDI tracks.
I started with a folder of “unique to the film” tracks (unique instruments or synths like REV), then a “sketch orch” folder of about 35 tracks, and then a folder with 200+ MIDI tracks for my “detailed orch.”
There’s more than one way to set up your studio, but over the years, I’ve found this to be the best, most effective way to present your music to filmmakers and collaborators. Happy music-making and collaborating.
Want to create movie music? Read more about how to contact music supervisors and get your tunes heard.