
If you make music at a desk, you don’t need to be convinced that cables can get out of control. Even the most minimal setups will require power and I/O cables to connect the various devices and instruments people use to make music. And with cables comes clutter, the enemy of both zen and productivity. When you need to swap or adjust equipment, things can get tangled quickly.
So how do you set up a studio space — with all its necessary gadgets — without becoming consumed by an ominously growing nest of cables and cords? It can seem daunting, but with a little planning, the right gear, and some patience, you can set yourself up for success with little ongoing maintenance. Here’s a step-by-step guide to setting up a studio space that’s tidy and conducive to creativity.
The desk
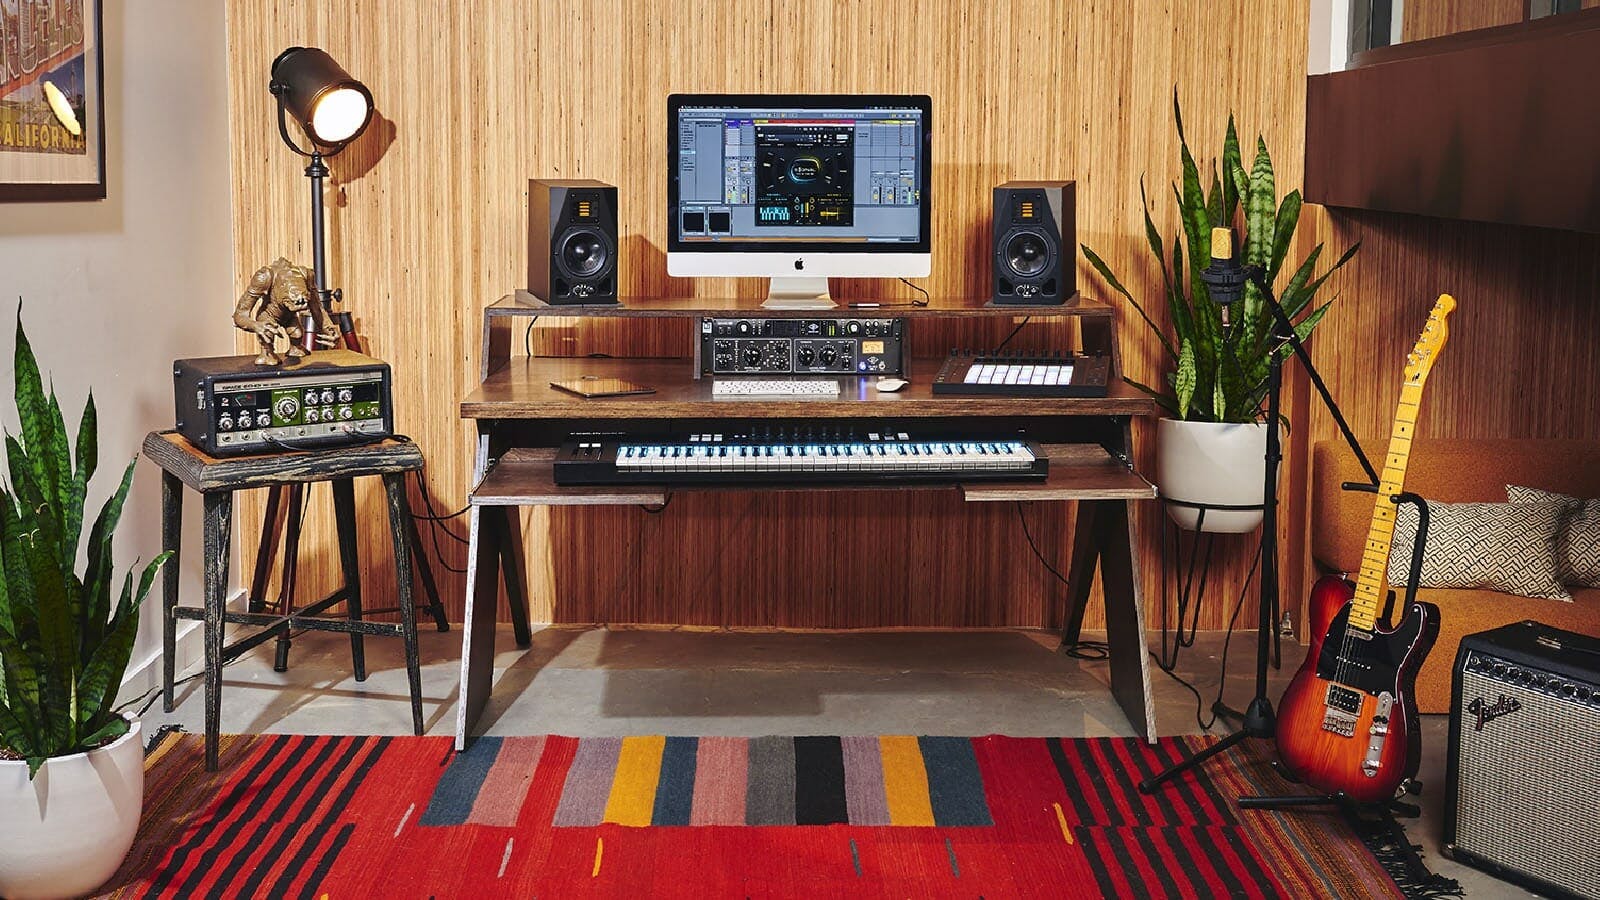
If you’re using a DAW (Digital Audio Workstation) on your computer to produce and record music, you’re going to need a desk to sit or stand at. Any desk or flat surface can hold a monitor and keyboard, but purpose-specific studio desks like Platform by Output are designed with consideration of the equipment and practices of engineers and musicians.
Platform’s built-in features have music producers in mind. A raised shelf puts nearfield monitors at ear-height, and three cubbies totalling 9U of rack space can accommodate a wide range of standard rack-mount gear. This lets you keep your most important equipment neatly within arm’s reach (yes, even you modular-lovers).
If you’re going to use a keyboard, consider a desk-mounted keyboard tray. Platform’s optional tray will fit most full 88-key models and even has a chair-sized cutout for comfort. But, any tray will make it easier to route the cables towards the back of your desk.
You can check out a list of comparable options — from the budget to the baller — here.
Power
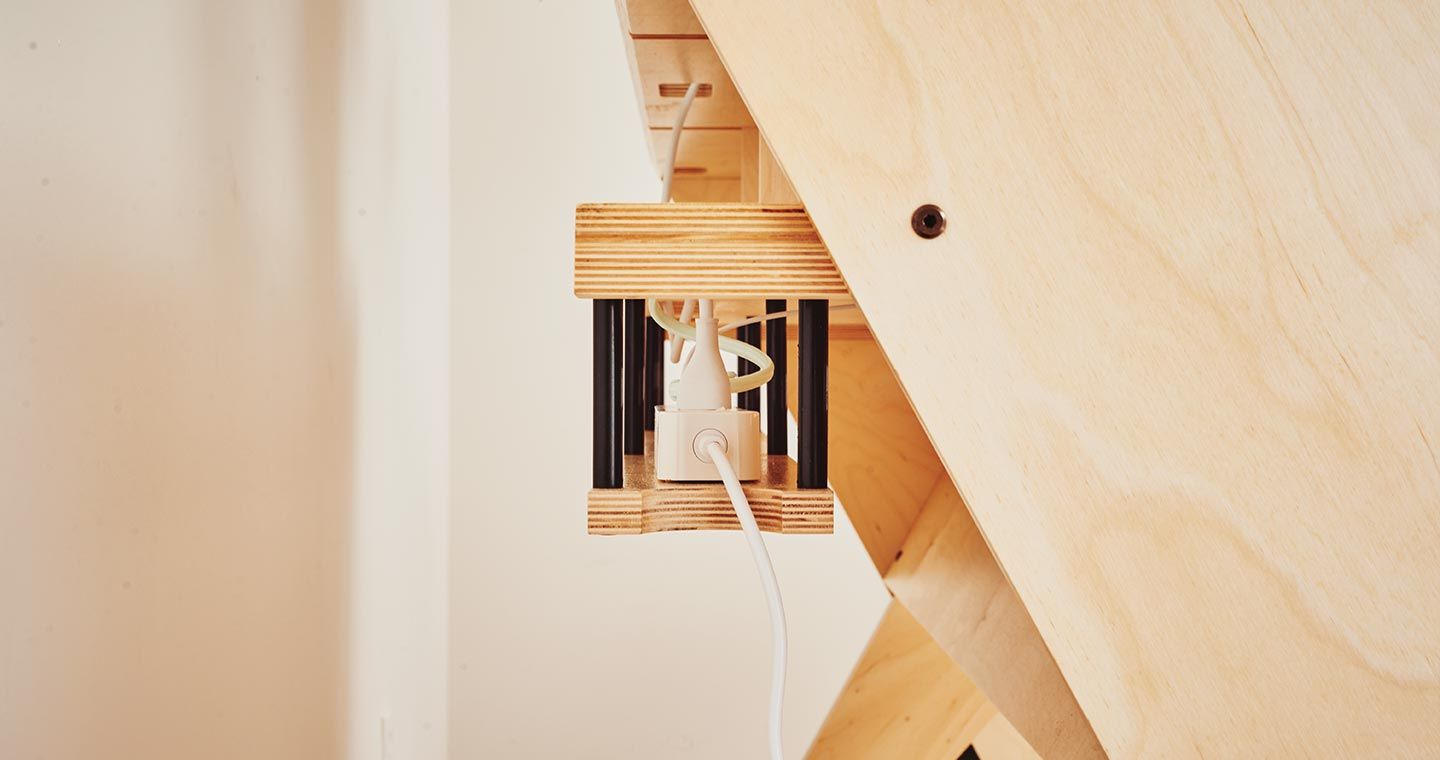
If you’ve got gear, you’re gonna need power. Surge protectors are some of the more unsightly pieces of gear in any studio, and are best stored in a hidden but accessible spot.
Clean power is important for sensitive recording equipment, so consider a power conditioner that will closely regulate the voltage passed from the wall outlet to your devices. Not everyone needs this, but it can help lower your noise floor when using analog instruments in buildings with older wiring.
For smaller bedroom studios, a high-quality surge protector should suffice, especially with modern equipment and wiring. A few well-placed Command strips can fasten lighter surge protectors to the underside of your desk, and others still can clamp directly onto the side of your desk. If you must have one on the floor, you can hide it in a box.
Some desks — like Platform — have a dedicated shelf on the back side that can hold one (or several) surge protectors along with the various brick power adapters some equipment requires. If your desk doesn’t have a cable tray, there are lots of options — Ikea’s Signum is well-liked because its wire basket has plenty of loops to help route cables underneath your desk top.
Cable length
This is easiest if you’re starting from scratch: Just measure all your cable runs, add a foot or two for flexibility, and buy the shortest cable that fits. Even if you’re working with an existing space, replacing too-long cables with the exact length needed for your run can eliminate excessive slack in the cable that you will otherwise have to store somewhere.
Even without making any other changes, having the proper length cables will immediately reduce clutter. Monoprice is an excellent source for enthusiast and professional audio cables, and they often carry many different lengths of each type of cable.
Most detachable power cables are replaceable with a more agreeable length; even if they have a proprietary plug, the power brick it’s attached to is often a standard (and replaceable) size. If you’re feeling adventurous and know your way around a wirestripper and a soldering iron, you can always build your own!
Color coordination/labels
Before you run all your cables and route them into the hidden nether regions of your desk, it’s wise to label them so you know which end connects to which device — especially for commonly used audio cables like XLR and TRS. You can do this with color coordination (different colored cables or velcro ties), or you can attach labels near the plugs.
Whichever method you choose, you should plan it out before running any cables — it’s much more annoying to do after the fact.
Want more practical music-making wisdom? Check out our complete guide on how to set up a home recording studio.
Routing
The shortest distance between two points may be a straight line, but when it comes to cables, the right path is often circuitous. All the devices on your desk should be routed toward the back of your desk, but getting there can sometimes be tricky.
Desks with holes and grommets can help route the cables from desktop devices to raceways and cable management trays. For example, the holes on each tier of the Platform desk are aligned from top to bottom, offering a clean path to route your cables.
Velcro and zip ties are useful for bundling related cables together; the zip ties offer more support for thick, heavy cables, while the velcro closes and re-opens easily. Other fasteners can fasten single or bundled cables to the wall or underside of your desk. Wall-mounted cable raceways are a great way to hide cable runs to wall and/or ceiling-mounted devices.
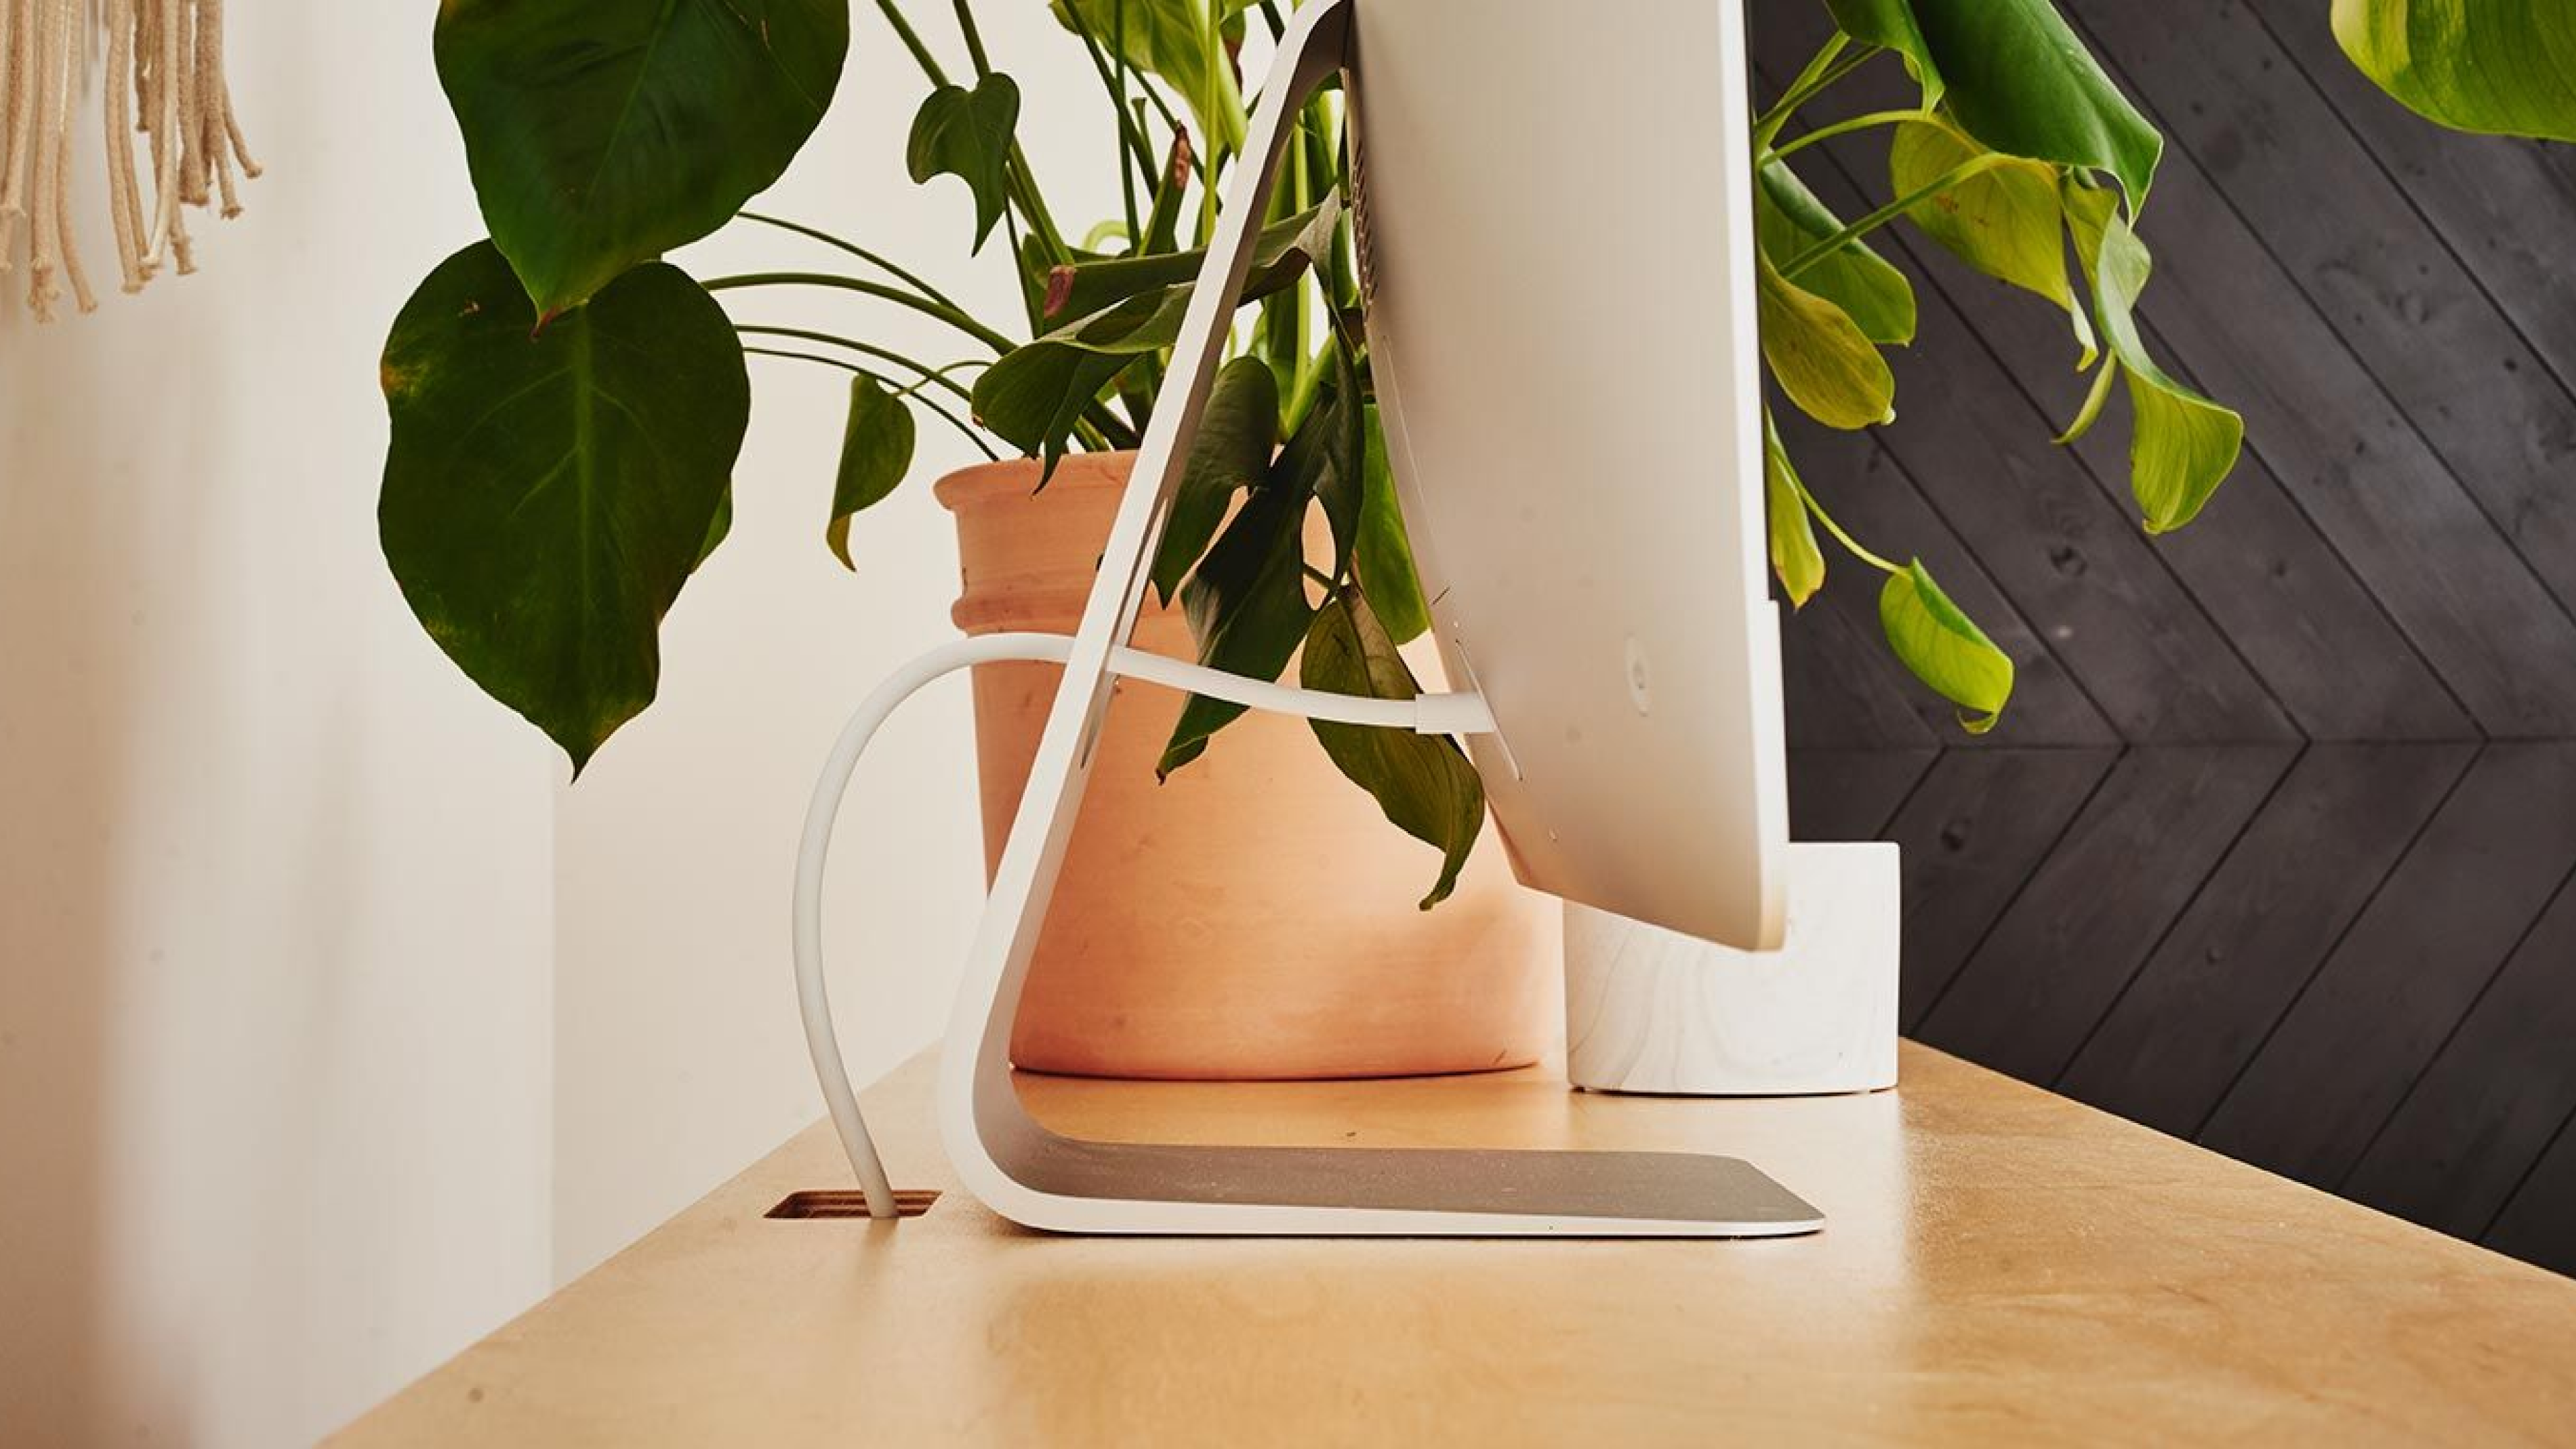
Additional tips
Larger screens can be mounted to walls, and their cables routed through walls or wall-mounted raceways, reducing clutter in your desk’s cable management. For smaller screens, mounting to a gas-powered arm can not only clear desk space, but offer a route for cables from monitor-mounted peripherals like webcams or lights.
Some of these tools — cable raceways, clips, labels — come in all-in-one kits that offer several different options; they’re not one-size fits all, but could be more convenient if they contain several of the tools you’re looking for. Some desk even come with built-in power strips for an even cleaner look.
If you’re using a sit-stand desk, consider a cable chain to help prevent any bundles that lead away from the desk from catching onto anything as the desk is raised and lowered.
If you can’t purchase a length of cable suitable to your installation, loop and bundle the excess with velcro ties and store the excess in your cable tray.