You know an arpeggio when you hear one. On any instrument, an arpeggio is a chord that is played one note at a time. You can hear what that sounds like any time a guitarist holds one chord while plucking different notes. From Beethoven’s iconic Moonlight Sonata through ‘80s pop and hip-hop to today’s biggest hits, arpeggios can lend harmonic and rhythmic complexity to any genre of music. But that begs the question: What is an arpeggiator?
The arpeggiator is a common synthesizer feature that spits out an arpeggio when you press down a chord. This means you can play any chord (let’s say a basic C major chord: C, E, G, and high C) and the synthesizer will play an arpeggiated sequence — a looping pattern with each of those notes — played one at a time.
Before this feature existed, complex arpeggiating required some skill to execute effectively, as demonstrated in this clip by legendary guitarist Yngwie Malmsteen. But with the introduction of the arpeggiator, it became possible for anyone to use synthesizers to play arpeggios consistently and effectively with minimal physical effort, opening the doors to entirely new genres of music like industrial music and synth-pop.
Some questions remain: How does an arpeggiator determine the order of the notes? How does it know how quickly to switch between notes? What happens when you let go of the chord? And how can you use in-the-box arpeggiators that come with DAWs like FL Studio, Ableton Live, or Logic Pro X?
Never fear: We’re going to cover these topics and more in this explainer of arpeggiator basics. Read on for a brief history of the arpeggiator, the most common pattern types, how to use arpeggiators in DAWs, and more. By the end, you’ll be an arp expert.
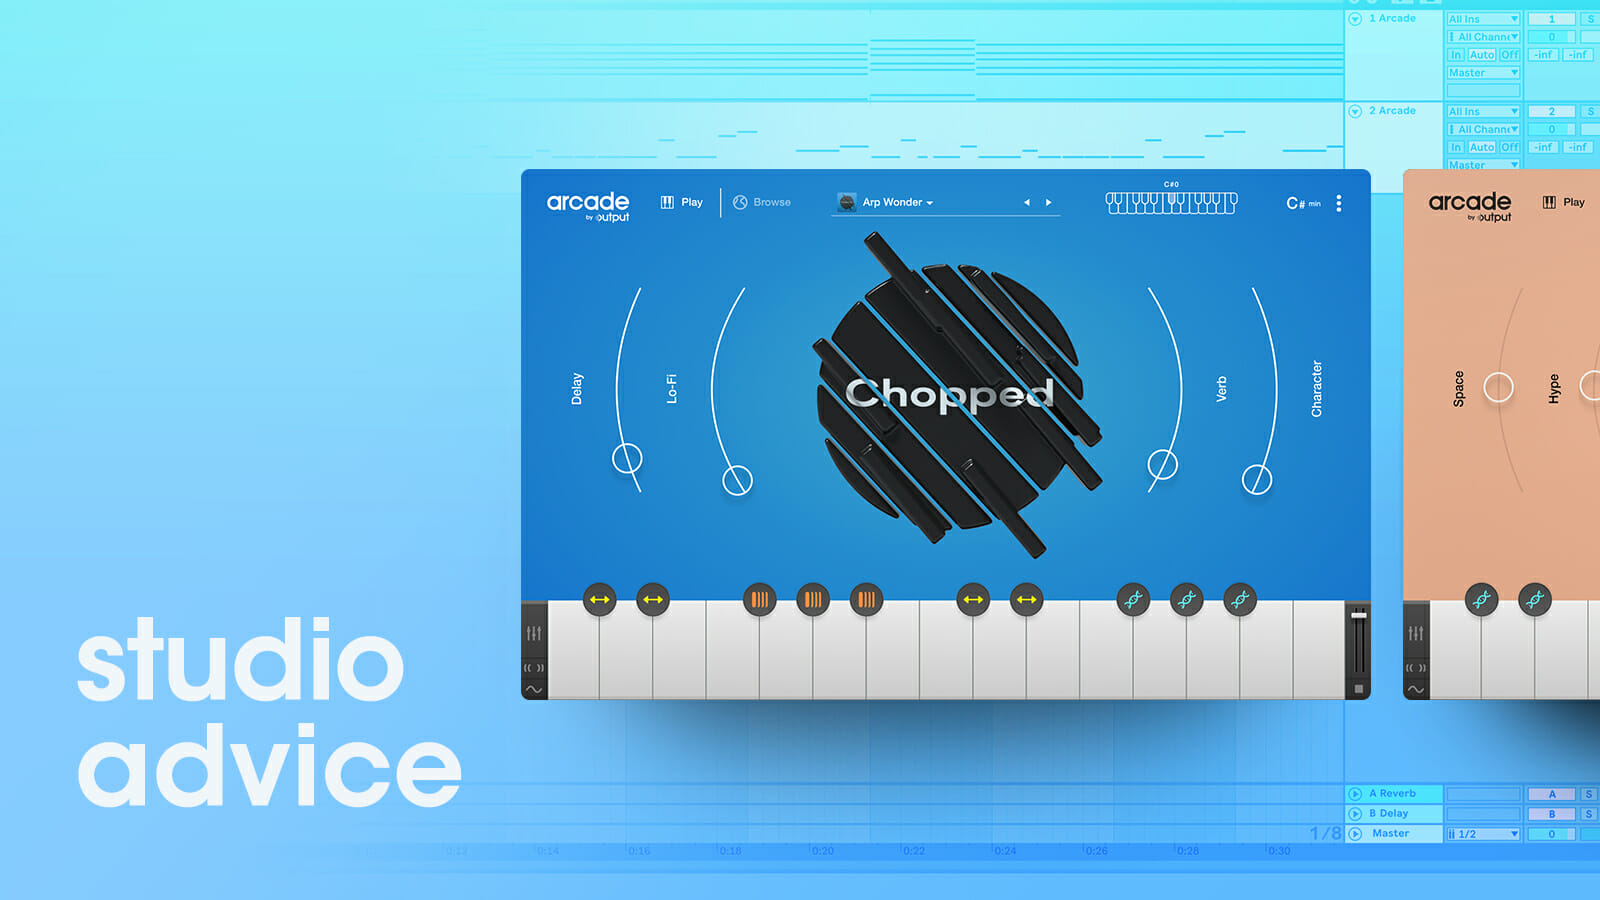
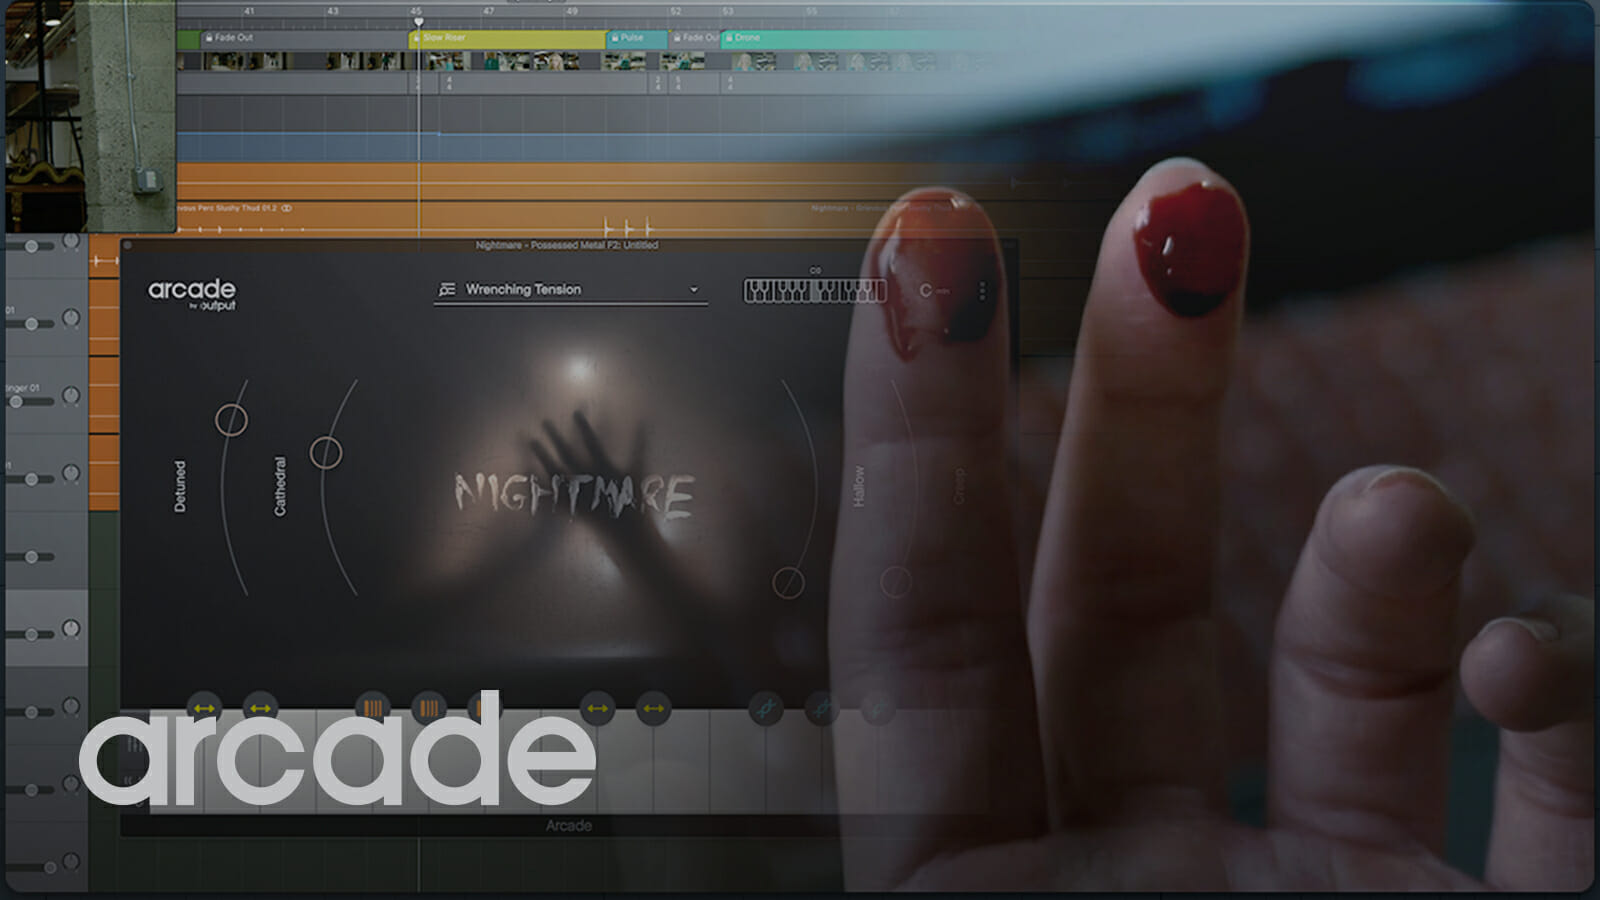
Explore the magic of Arcade’s new Arpeggiator for yourself with our latest Line, ARPS.
Don’t have Arcade yet? New users get a free trial. Try it out now!
A brief history of arpeggiators
Two of the first popular synthesizers to ever incorporate an arpeggiator were the Roland Jupiter-4 and Sequential Circuits Prophet V. These still-iconic hardware synths were originally released in 1978.
Going into the next decade, more synth manufacturers — KORG, Oberheim, etc. — began to incorporate arpeggiators into their hardware. This new functionality made its way into all manner of records in the decades that followed, from pop and rock to film and TV scores, making it a part of the “sound of the ’80s.”
Think of the classic bassline in New Order’s “Blue Monday,” the synth riff in Cyndi Lauper’s “Girls Just Want to Have Fun,” or the end title sequence of the 1984 science-fiction film Blade Runner, composed by Vangelis. These are all beloved, iconic parts of ‘80s culture, and the arpeggiator played a central part in all of them.
Arpeggiators also directly led to the development of new strains of dance music. Making precise and repetitive automated performance available to more people allowed entirely new genres of music that were previously unheard of to blossom, like house and techno. Check out the arpeggiated intro to Chicago house legend Frankie Knuckles’ “Your Love:”
Arpeggiator patterns
Now that we’ve gone over the history of the arpeggiator, let’s discuss common arpeggiator patterns you’ll find on many hardware synths and software arpeggiators.
Every arpeggiator works on the same basic principle: You turn it on, you press down a chord, and a sequence of notes will play. Voila!
The vast majority of arpeggiators include a “hold” or “latch” button, which will remember the last-played chord and continue playing an arpeggio until a new chord is played.
The exact arpeggio pattern is determined by what setting you enable. The names will differ from product to product, but common styles include:
- “Up”: Lowest note to highest note.
- “Down”: Highest note to lowest note.
- “Converge”: Lowest note first, then highest note, working its way to the “middle” of the chord.
- “Diverge”: “Middle” notes first, working its way to the “outside” of the chord (which are the highest and lowest notes).
- “Random”: Generate a random order of notes.
For an audio example, check out this handy walkthrough of the Logic Pro X Arpeggiator by MusicTech’s Jono Buchanan (with more on DAW arpeggiators later on):
For a visual representation of various arpeggiator patterns, you can also check out the Ableton Live reference manual.
What is arpeggiator tempo and rate?
Arpeggiators sync their sequences to a tempo and rate. The tempo is the speed of the full sequence, determined by a synthesizer’s onboard clock or an external MIDI/clock signal, while rate determines how many notes get played within that sequence.
The earliest arpeggiators, like the one on the Roland JP-4, used an outboard drum machine to dictate the tempo of the arpeggiated sequence. Newer arpeggiators tend to use an internal BPM or MIDI clock input to determine tempo. (DAW arpeggiators follow the BPM of the session file. More on that after the jump.)
Rate is used to control the subdivision of the arpeggiation. This is typically denoted in musical notation (whole note, 1/2 note, 1/4, 1/8, 1/16, 1/32, etc). The smaller the subdivision, the faster the notes are played.
Arpeggiators in DAWs
Many software instruments have built-in arpeggiators. Some of them are rudimentary — such as the ones you find on emulations of vintage hardware synths — while the more complex ones let you do things like set the velocity of specific notes or program longer, more intricate patterns.
In DAWs, arpeggiators create patterns based on MIDI data. This means that when you play a C major chord on your MIDI keyboard, that MIDI information runs through the arpeggiator and then into the software instrument. The MIDI information itself (aka the notes that appear in the piano roll) does not change.
Arpeggiators can also operate as standalone MIDI effects. Each DAW has its own way of handling these effects. For example:
- Ableton Live: The built-in Arpeggiator MIDI effect can be used on any MIDI track with any software instrument in Live.
- Logic Pro X: The built-in Arpeggiator MIDI effect can be used on any MIDI track with any software instrument.
- FL Studio: The built-in Arpeggiator in FL Studio can be found under Miscellaneous Channel Settings for all Instrument Channels.
- Studio One: The Arpeggiator can be found under Note FX, under the Instrument tab on the right-hand side of the screen.
- Reaper: You can use the JS MIDI Arpeggiator to create arpeggios in Reaper. (Check out this video for more.)
In any DAW that does not have a built-in arpeggiator, such as Pro Tools, you can use third-party arpeggiator plugins. You can use these arpeggiators by placing them on a MIDI track, and then routing the MIDI output of that track into the MIDI input of another MIDI track with a software instrument.
Examples of some great third-party arpeggiators include:
- Xfer Records Cthulu ($39): A chord memorizer and powerful arpeggiator that lets you build out patterns exactly the way you want.
- Sugar Bytes Consequence ($59): An older plugin that’s still beloved for its nuanced arpeggiator and built-in sample library.
- BlueArp (free): A popular free option inspired by hardware arpeggiators.
There are also some MIDI keyboards, such as the Akai Professional MPK series and Novation Launchkey series, that have on-board arpeggiator functions.
Feel the magic of arp
The magic of arpeggiators comes from being inspired by how the machine reacts to your input. You have to play one to really understand how you can best use it to your advantage in your tracks. Check out how Arcade’s Arpeggiator can take any Instrument to new heights:
Don’t be afraid to let a sequence loop while you modify parameters and shape it to your liking. Once you’re comfortable with arpeggiators, you can use them to make rhythmic bassline patterns, sound FX, and even intense drum fills (when paired with a drum plugin). So what are you waiting for? Let’s get to arping!
Want to learn more about creative ways to use arpeggiators? Check out our favorite presets for Portal, including the setting “Arp-O-Matic.”


